How Do I Adjust the New Fuel Pressure Regulator? A Complete Guide with Steps and Tips
How do I adjust the new fuel pressure regulator? You adjust it by disconnecting the vacuum line first, then setting the base fuel pressure using a fuel pressure gauge. This lets you get a precise, stable reading without engine vacuum affecting the measurement. Start by identifying your regulator type and use a high-quality pressure gauge to adjust the spring pressure correctly before reconnecting the vacuum line for final tuning.
Key Takeaways
- Always disconnect the vacuum line before adjusting to avoid inaccurate fuel pressure readings.
- Use a fuel pressure gauge rated for your system pressure range, typically 43-60 PSI for EFI.
- Identify if your regulator is linear (1:1) or bypass style before adjusting.
- Set the base pressure on a vacuum-free regulator by turning the adjustment screw until the gauge reads the desired PSI.
- After adjusting base pressure, reconnect the vacuum line to allow the regulator to respond to engine vacuum changes.
- PTFE-lined fuel hoses resist ethanol corrosion and improve safety in fuel pressure adjustments.
How to Adjust Your New Fuel Pressure Regulator Safely and Accurately

Adjusting a new fuel pressure regulator involves setting the fuel pressure to the correct PSI for your vehicle’s engine and operating conditions. This process ensures the fuel system delivers an even amount of fuel, which helps avoid running too rich or too lean, protecting engine performance and longevity. To do this safely and accurately, you need to disconnect the vacuum line first, use a fuel pressure gauge, and follow a clear adjustment sequence.
Fuel pressure typically falls within the range of 43 to 60 PSI for gasoline engines equipped with a bypass (return-style) fuel pressure regulator. The exact pressure you set depends on your vehicle’s specifications or if you installed an adjustable aftermarket regulator. Some regulators come with a spring set at 3 bar (about 43.5 PSI) or 4 bar (about 58 PSI), and you adjust around that base pressure. Disconnecting the vacuum line sets the regulator to its base fuel pressure, eliminating changes from engine vacuum or boost.
- Locate the fuel pressure regulator on the fuel rail and confirm it’s a vacuum-referenced type. Identify the vacuum line connected to it and carefully disconnect this line, capping or sealing it to prevent dirt from entering.
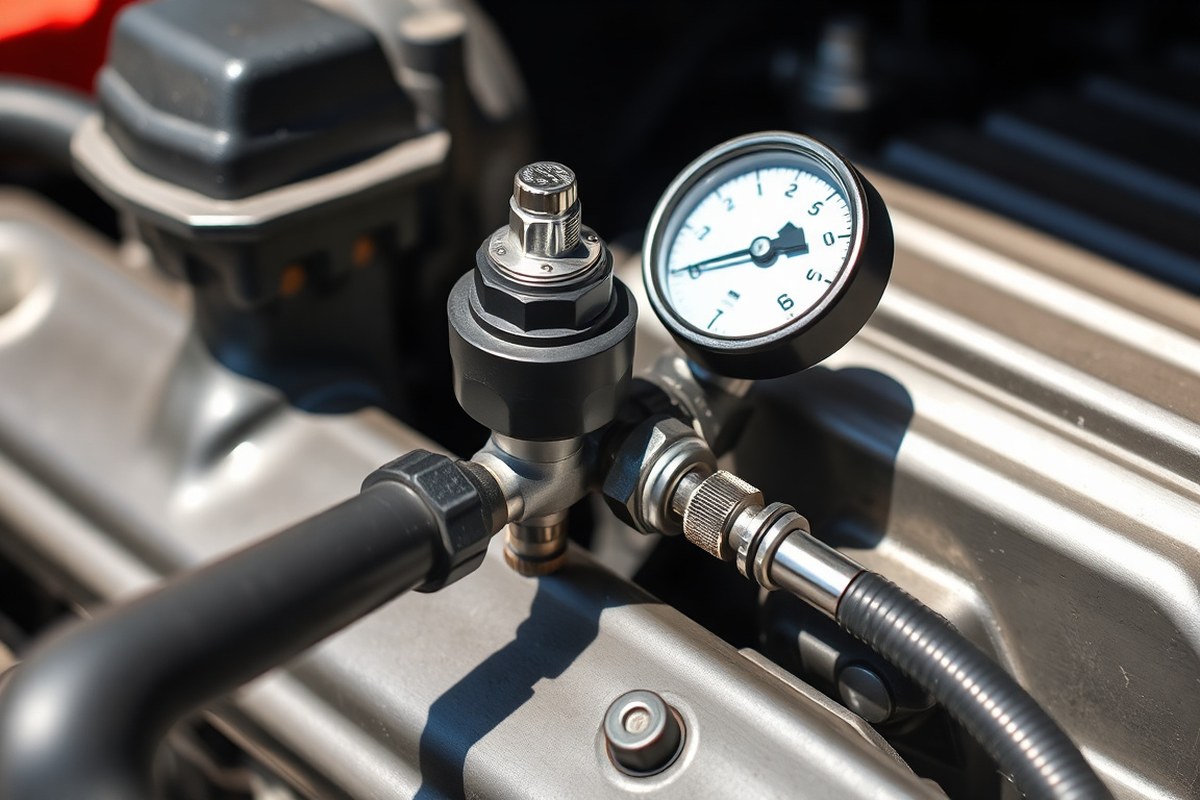
- Attach a fuel pressure gauge to the fuel rail test port or the fuel pressure regulator inlet, ensuring a secure connection to avoid leaks. Use a gauge rated for the expected range of your system (0, 100 PSI is typical).
- Turn on the ignition without starting the engine to engage the fuel pump, allowing fuel pressure to build up. Monitor the gauge to see the initial or base fuel pressure reading. This is your starting point for adjustment.
- Adjust the regulator’s pressure screw slowly using the appropriate tool (usually a flathead screwdriver or hex key). Turn clockwise to increase pressure and counterclockwise to decrease it. Make adjustments in small increments of one or two PSI at a time.
- Observe the fuel pressure gauge for steady readings. Avoid pressure creep, especially with blocking-style regulators, by making sure pressure stabilizes without creeping higher after adjustment. Pressure creep can cause inaccurate settings and engine fuel delivery issues.
- Repeat the ignition-on and off cycles between adjustments to ensure pressure holds steady. This step confirms the regulator is set accurately and prevents overcompensation.
- Reattach the vacuum line after setting base pressure, then start the engine and monitor the gauge again. The fuel pressure should now adjust proportionally to engine vacuum or boost, rising or falling in line with manufacturer specs.
- Test drive the vehicle to ensure no rough idling or hesitation occurs, indicating correct fuel delivery. Double-check for fuel leaks around the gauge or regulator.
Final settings depend on your vehicle and regulator; most fuel pressure regulators for gasoline engines work best between 43 and 60 PSI at base pressure with vacuum disconnected. High-performance applications may require calibrated adjustments. Always measure pressure with a quality gauge and perform adjustments gradually to avoid damaging engine components or causing fuel system issues.
Identifying Your Fuel Pressure Regulator Type and Setup
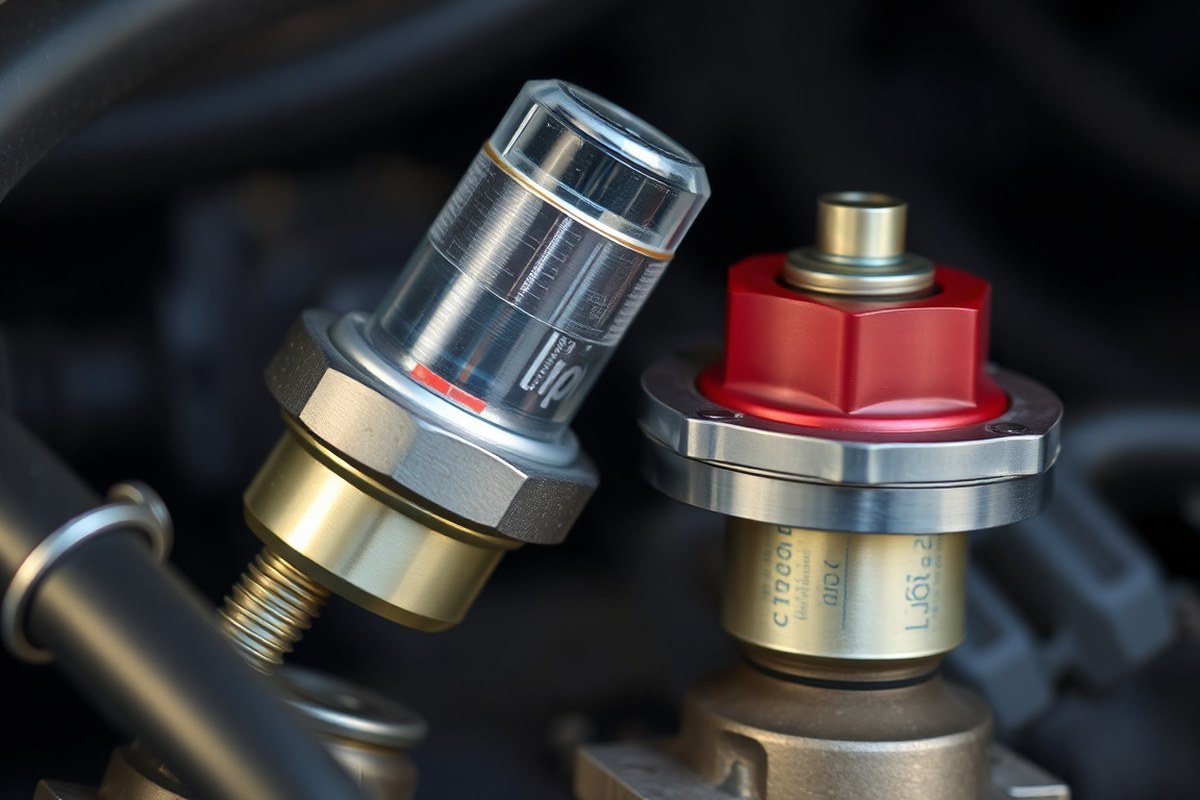
Distinguishing between blocking style and bypass style fuel pressure regulators is essential because each type adjusts fuel pressure differently and connects differently to the fuel system. Blocking style regulators stop fuel flow when the engine does not demand fuel, while bypass style regulators continually route excess fuel back to the tank. Knowing which regulator your vehicle uses helps you adjust it properly to avoid incorrect pressure and engine issues.
Blocking Style Fuel Pressure Regulators Explained
Blocking style fuel pressure regulators, also called traditional style, halt fuel flow completely when the engine does not require fuel. Fuel enters the regulator through an inlet port, passes a fuel control valve, and then continues to the carburetor or fuel rail. These regulators do not have a return line sending fuel back to the tank.
Because the flow is interrupted when the engine is off or under low fuel demand, the system relies entirely on the regulator’s valve to open and close to maintain pressure. This setup requires careful adjustment to avoid “pressure creep,” where fuel pressure remains higher than desired even when demand drops.
Bypass Style Regulators and Return Lines
Bypass style fuel pressure regulators always allow fuel to flow continuously, rerouting excess fuel back to the tank through a return line. Fuel enters via an inlet port, travels past a fuel bypass valve that controls flow and pressure, and then moves onward to the carburetor or fuel rail outlet port.
This continuous flow helps maintain a consistent fuel pressure without complete shutoff, which is beneficial in electronic fuel injection (EFI) systems that require steady pressure. However, if the return orifice is too small compared to the pump volume, the system maintains a pressure “floor” that limits how low you can adjust the pressure.
How to Identify Your Regulator Quickly
Identifying your regulator type is easier by checking for the presence of a fuel return line. A bypass style regulator has a return line that sends excess fuel back to the tank, while a blocking style regulator lacks this line. Here is a comparison to help you decide which setup you have:
| Feature | Blocking Style Regulator | Bypass Style Regulator |
|---|---|---|
| Fuel Return Line | No return line; fuel stops flowing when engine demand is low | Has a fuel return line routing excess fuel back to the tank |
| Fuel Flow When Idle | Fuel flow stops completely to maintain pressure | Fuel continuously circulates through bypass valve to maintain pressure |
| Common System Type | Often found in carbureted or older fuel systems | Standard with EFI and modern fuel systems having return lines |
| Adjustment Sensitivity | Can experience pressure creep; adjustments directly affect engine fuel pressure | Lower limit pressure may be set by minimum return orifice size; adjustment may have limits |
| Installation Location | Usually mounted before the fuel rail | Usually positioned after the fuel pump and before fuel rail with return line |
Look under the hood for a small hose or line going from the fuel pressure regulator back to the fuel tank or fuel tank area. If you see it, you have a bypass style regulator. No return line means you are working with a blocking style.
Tip: Attempting to adjust pressure without recognizing your regulator type can cause ineffective tuning or damage the fuel system, be sure to identify it first.
Why Disconnecting the Vacuum Line Is Critical During Adjustment
The vacuum line plays a key role in adjusting your fuel pressure regulator because it links the regulator to the engine’s intake manifold vacuum. This connection allows the regulator’s diaphragm to respond to engine vacuum, reducing fuel pressure slightly at idle and low load conditions to improve fuel economy and reduce carbon buildup in the engine. Because vacuum actively changes the fuel pressure, leaving the vacuum line connected during adjustment causes fluctuating readings that don’t reflect the true static fuel pressure, making precise adjustment impossible.
Disconnecting the vacuum line before adjusting stops this vacuum influence, allowing you to set a reliable baseline fuel pressure while the engine is running. With the vacuum line removed, the pressure regulator acts like a simple spring-loaded valve, providing a static pressure reading. This static pressure reading is what you want to adjust. Accurately setting the static base fuel pressure ensures the fuel system delivers consistent fuel volume to the engine under all conditions. Reconnecting the vacuum line afterwards lets the regulator modulate pressure dynamically again during engine operation.
Failing to cap the vacuum line after disconnecting it risks dirt and debris entering the vacuum system, which can cause vacuum leaks or damage sensitive components tied to the manifold. Also, uncapped lines can draw in unfiltered air, affecting engine performance. To cap the vacuum line properly, use a clean rubber cap or a small piece of vacuum hose tightly sealed with a zip tie or clamp over the open end. Avoid crimping or damaging the hose as you seal it. If the vacuum line is nylon or plastic, a rubber cap sized for small hoses or a special vacuum plug from an auto parts store works best. Proper capping prevents unintended problems and ensures safety during your adjustment process.
When the vacuum line is reconnected after adjustment, engine vacuum pulls the regulator diaphragm inward, reducing fuel pressure by around 5 to 10 psi at idle. This drop is normal and reflects efficient fuel control during light throttle conditions. Not accounting for vacuum influence by leaving the line connected during adjustment often causes under or overfueling when the vacuum pulls on the diaphragm during normal engine operation.
To test that the vacuum line is functioning and not leaking, perform a ‘Gas Smell Test’ by disconnecting the hose and checking for raw fuel smell or liquid inside the line. Presence of gasoline may point to a faulty regulator diaphragm. A healthy vacuum line should feel dry and smell free of fuel vapors. This quick check protects your engine from potential leaks or regulator failures before adjustment.
In sum, disconnecting and capping the vacuum line during fuel pressure regulator adjustment isolates the static pressure reading. This isolation makes your adjustment accurate and repeatable. Take care to seal the vacuum port well to avoid vacuum leaks, and remember to reconnect the line after adjustment so your regulator can properly adjust fuel pressure based on real-time engine vacuum.
Tools and Equipment Required for Fuel Pressure Regulator Adjustment
Adjusting a fuel pressure regulator requires specific tools to ensure safety and accuracy. Start with a high-quality fuel pressure gauge designed for your vehicle’s fuel system pressure range. For example, gas engines generally operate between 30 and 60 psi, but EFI (Electronic Fuel Injection) systems like those in LS swaps may need gauges capable of reading up to 100 psi or more. Using the correct gauge prevents misreading that can lead to improper adjustment or engine damage.
You also need hoses and fittings compatible with your system’s fuel lines. Many gauges come with universal adapters, but some fuel regulators require special fittings or extension hoses to connect without leaks or restricting fuel flow. Choose braided or reinforced fuel hoses rated for at least 100 psi to withstand pressure spikes and fuel types used (gasoline or ethanol blends).
- Adjustable fuel pressure gauge (0, 100 psi range recommended)
- Compatible fuel pressure gauge adapters and fittings
- Reinforced fuel pressure hose rated for fuel pressure and type
- Basic hand tools like wrenches or screwdrivers to access and adjust the regulator
- Clean rags to wipe away fuel spills
- Safety glasses and gloves for protection against fuel
Begin by connecting the fuel pressure gauge to the test port or directly to the fuel line using the appropriate fittings. Ensure all connections are tight to prevent leaks. After mounting the gauge, loosen the locknut on the fuel pressure regulator adjustment screw with the correct wrench or screwdriver size. Slowly turn the adjuster while watching the pressure gauge, allowing the fuel pump to prime for about 5, 10 seconds after each adjustment to stabilize the reading. Typical aftermarket adjustable regulators allow pressure tuning within a range of 30 to 70 psi, but verify your vehicle’s specifications to set the exact value.
Investing in quality tools may cost between $30 to $80 for a reliable pressure gauge and about $10 to $20 for hoses and fittings, but these expenses help avoid misadjustment that can cause poor fuel delivery or engine damage. Avoid using cheap or uncalibrated gauges as they can give false pressure readings and lead to incorrect settings. Also, ensure your fuel pressure gauge has a bleeder valve or the ability to release pressure safely, which allows you to disconnect it without spilling fuel.
Understanding How Fuel Pressure Regulators Work with Vacuum and Boost
A vacuum-referenced fuel pressure regulator adjusts fuel pressure in response to changes in engine vacuum and boost conditions to keep the air-fuel mixture correct. It senses intake manifold pressure through a connected vacuum or boost hose. At idle or light throttle, the engine produces vacuum, lowering fuel pressure relative to base pressure. As the engine speed increases or boost from forced induction comes in, the vacuum decreases or becomes positive pressure, raising fuel pressure proportionally.
The base fuel pressure is the static pressure setting of the regulator when the vacuum line is disconnected or blocked. Commonly, EFI systems, especially with LS engine swaps, require a base pressure near 58 PSI (about 3 bar). This base pressure ensures enough fuel is available under typical driving conditions. Once you connect the vacuum hose, the regulator reduces fuel pressure by the amount of engine vacuum. For example, if your fuel pressure reads 50 PSI at idle with vacuum connected, and you set 58 PSI with vacuum disconnected, the 8 PSI difference roughly matches engine vacuum effect at idle.
Forced induction engines, such as turbocharged or supercharged setups, add positive pressure or boost to the intake manifold. When boost raises intake pressure above atmospheric, the vacuum reference line switches from vacuum to boost, pushing on the regulator’s diaphragm. This action increases fuel pressure above the base level to supply the extra fuel needed under boost. For instance, if your engine produces 10 PSI boost, your fuel pressure might rise to 68 PSI, maintaining a proper air/fuel ratio and preventing lean conditions that can damage the engine.
Because fuel pressure changes dynamically with vacuum or boost, adjusting the regulator requires understanding these effects. You typically start by setting the base pressure with the vacuum hose disconnected and sealed to avoid drawing air. After setting your static base pressure, reconnect the vacuum line and monitor fuel pressure during different engine operating conditions. The regulator will then automatically modulate pressure as vacuum and boost vary. This dynamic adjustment protects engine performance and longevity.
Keep in mind that vacuum-referenced regulators rely on a clear, undamaged vacuum or boost reference hose for accurate operation. Any leaks or blockages can cause incorrect fuel pressure readings and adjustment errors. Properly setting the base pressure, then confirming pressure changes with throttle and boost, ensures the fuel system responds correctly throughout engine load and speed ranges.
Always block the vacuum hose end after disconnecting it to prevent the engine from drawing air, which can skew fuel pressure readings and cause improper adjustments.
Avoiding and Troubleshooting Common Fuel Pressure Regulator Adjustment Issues
Adjusting a fuel pressure regulator can lead to common issues like pressure creep, ruptured diaphragms, and fluctuating readings. Recognizing these problems early and knowing their fixes helps you maintain accurate fuel pressure and avoid engine damage or safety hazards.
Identifying Pressure Creep Symptoms
Pressure creep happens when fuel pressure continues to climb even after you’ve set the regulator adjustment screw and the engine is off but the fuel pump is still running. This causes inconsistent pressure readings that can mislead your adjustment efforts. You’ll notice the gauge rising beyond the target pressure instead of staying steady.
To fix pressure creep, start by closing off the fuel control valve completely. Pressure that keeps rising beyond the intended setpoint can indicate the regulator’s internal valve is not releasing excess pressure properly. This often means the regulator must be replaced, as cleaning rarely restores proper function.
Detecting Diaphragm Rupture
A ruptured diaphragm inside the fuel pressure regulator lets fuel leak into the vacuum line or hoses. This is dangerous because it risks fire hazards and can also damage pressure sensors by allowing fuel to contaminate them. To diagnose a ruptured diaphragm, inspect the vacuum hose for signs of fuel presence, such as a fuel smell or liquid residue.
Perform this quick test: disconnect the vacuum line from the regulator and check if fuel is present inside. Detecting fuel means the regulator should be replaced immediately. Continued use of a ruptured regulator risks further damage and safety issues. Replacement regulators for most vehicles range from $30 to $100 depending on the make and model, which is a worthy investment for safety.
Fixes for Fluctuating Readings
Fluctuating fuel pressure readings can result from loose connections, worn hoses, or issues inside the pressure regulator or sensor. These irregular readings impede accurate adjustment. Start with a troubleshooting checklist to pinpoint the cause.
- Ensure all fuel line fittings and clamps are tight and leak-free
- Inspect hoses for cracks, swelling, or brittleness
- Verify the fuel pressure gauge and sensor are functioning correctly and haven’t been contaminated
- Check the vacuum line routing and confirm it’s securely attached
- Look for signs of internal regulator wear causing inconsistent valve action
- Confirm the fuel pump is providing steady pressure
- Test the regulator with and without vacuum applied to see pressure response
Replacing damaged hoses or faulty sensors often resolves fluctuating readings. A regulator causing erratic pressure changes usually needs to be replaced because its internal parts cannot be serviced. After addressing issues, take pressure readings multiple times to confirm stable values before reassembling everything.
Adjusting Fuel Pressure Regulator on Popular Vehicles Like Silverado and Ford
Adjusting the fuel pressure regulator on Silverado and Ford trucks requires aiming for specific PSI values tailored to each model’s fuel system. The process mainly involves tuning the regulator to maintain stable fuel pressure that matches the engine’s demands, usually between 43 and 58 psi. Following vehicle-specific tips ensures your engine runs smoothly without lean or rich fuel mixtures.
Silverado Fuel Pressure Regulator Adjustment Tips
For Silverado trucks, the fuel pressure regulator adjustment typically targets a baseline pressure near 58 psi for stock configurations. This pressure helps maintain proper fuel delivery during acceleration and steady cruising. Silverado owners should disconnect the vacuum line from the regulator before adjustment to set the base pressure without vacuum influence.
Adjust the regulator screw carefully using a fuel pressure gauge connected at the fuel rail. Turn the adjustment screw clockwise to increase pressure and counterclockwise to decrease. It’s important not to exceed the recommended pressure range, as too high a setting can cause fuel system leaks or component wear, while too low pressure may result in poor engine performance or hesitation.
Ford Vehicle Regulation Settings
Most Ford trucks require a slightly lower baseline fuel pressure than Silverado models, generally around 48 psi for stock engines. The adjustment procedure also includes disconnecting the vacuum line to measure the regulator’s true spring pressure. This approach prevents vacuum changes from masking the actual fuel pressure setting.
Use a fuel pressure gauge to read the pressure while slowly adjusting the regulator. Some Ford models may require fine-tuning between 43 and 50 psi depending on the engine variant and any aftermarket modifications. Always verify any pressure adjustments against Ford’s service manual or trusted forums to avoid issues.
Common PSI Targets by Model
The table below shows typical fuel pressure settings for popular Silverado and Ford trucks based on stock factory tuning. These values help you aim for an accurate fuel pressure setting when adjusting a new regulator.
| Vehicle Model | Engine Type | Recommended Fuel Pressure (psi) |
|---|---|---|
| Chevy Silverado 1500 (5.3L V8) | Gasoline | 56-58 |
| Chevy Silverado 2500HD (6.0L V8) | Gasoline | 55-58 |
| Ford F-150 (3.5L EcoBoost) | Gasoline Turbocharged | 45-48 |
| Ford F-250 (6.2L V8) | Gasoline | 44-47 |
| Ford Ranger (2.3L I4) | Gasoline | 43-45 |
Adjusting your regulator to these pressures under vacuum-disconnected conditions provides a stable baseline. After setting, reconnect the vacuum line to allow the regulator to adjust fuel pressure dynamically with engine load.
When to Call a Professional for Fuel Pressure Regulator Service
Certain situations make adjusting a fuel pressure regulator yourself risky or ineffective, and hiring a professional can save time, money, and potential damage. Your vehicle showing persistent symptoms such as engine stalling, poor acceleration despite repeated adjustments, or a noticeable fuel smell inside the cabin signals deeper problems that might go beyond simple pressure tweaking. Continued DIY adjustment without addressing these could worsen fuel system damage or cause unsafe conditions. A reliable way to decide if professional service is necessary involves checking for these warning signs:
- Fuel pressure readings remain unstable or outside manufacturer specifications after several adjustments.
- Visible leaks at the regulator or fuel lines that tightening or adjusting doesn’t fix.
- Multiple components show wear or damage, such as cracked hoses, corroded fittings, or a clogged fuel filter.
- Check engine light is on and diagnostic trouble codes related to fuel pressure appear.
- The regulator itself shows signs of physical damage, like dents, cracks, or corrosion.
- Unusual engine noises like knocking or sputtering persist after adjustment.
Fuel pressure regulators operate under precise pressure and vacuum conditions. Incorrect adjustment can cause an overly rich or lean fuel mixture, leading to poor fuel economy, engine misfires, or damage to the catalytic converter. Professionals use advanced tools like fuel pressure gauges calibrated to your vehicle’s specifications and may conduct thorough system diagnostics. These steps ensure the fuel pressure is set correctly without guesswork.
Never ignore fuel leaks or engine warning lights after adjustment efforts; they are clear signals to stop and seek expert assessment.
Another consideration is when the regulator is old or malfunctioning beyond adjustment. Sometimes replacement is a better option if the regulator has exceeded its lifespan, typically 50,000 to 100,000 miles depending on the vehicle and usage, or if adjusting doesn’t stabilize fuel pressure. Replacement costs vary but often range between $100 and $250 for parts, plus labor if done by a mechanic. While DIY replacement is possible, a professional ensures proper installation and system bleeding, preventing air pockets that disrupt fuel delivery.
Consider your comfort level and access to tools before proceeding. Adjusting fuel pressure regulators requires specific knowledge of your vehicle’s fuel system and exact pressure values. When you encounter stubborn symptoms or risk factors laid out above, calling a professional can prevent costly engine damage, ensure safety, and restore proper vehicle performance efficiently.
Step-by-Step Action Plan for Adjusting Your Fuel Pressure Regulator
Follow these steps carefully to ensure your new fuel pressure regulator is set correctly for optimal engine performance and safety.
- Before you start: Gather all necessary tools including a fuel pressure gauge, wrench set, and safety gear to prevent fuel hazards.
- Initial setup: Disconnect the vacuum line from the regulator to isolate fuel pressure adjustment, confirming your gauge reads the base pressure without vacuum influence.
- Start the engine: Run the engine at idle and watch the fuel pressure gauge; the pressure should match your vehicle’s specification listed in the manual.
- Make adjustments: Slowly turn the adjustment screw on the regulator while monitoring the gauge until the pressure reaches the correct level; stop turning once it stabilizes.
- Reconnect vacuum line: Attach the vacuum line back to the regulator and observe if the pressure drops in response to vacuum changes, ensuring regulator responsiveness.
- Road test: Drive the vehicle under various loads and monitor for smooth acceleration and throttle response without signs of fuel delivery issues.
- Final check: Shut off the engine and inspect for any fuel leaks around the regulator and fittings before concluding the adjustment.
Frequently Asked Questions
How Do I Adjust the New Fuel Pressure Regulator?
Find the new fuel pressure regulator on the fuel rail and disconnect its vacuum line. Use a fuel pressure gauge to set the base fuel pressure accurately, avoiding influence from engine vacuum.
What Psi Should a Fuel Pressure Regulator Be Set At?
Fuel pressure regulators typically maintain between 43 and 60 PSI, depending on the vehicle and regulator specifications. Checking your vehicle’s manual or regulator label helps set the correct PSI for optimal performance.
How Does a Fuel Pressure Regulator Work to Adjust Fuel Pressure?
A fuel pressure regulator maintains consistent pressure by balancing fuel flow and engine vacuum or boost. When vacuum changes, it adjusts the fuel pressure to match, ensuring the engine receives the proper fuel amount.
How Can I Avoid Fuel Pressure Creep During Adjustment?
Avoid fuel pressure creep by releasing trapped pressure in blocking style regulators before adjusting. This prevents pressure build-up that can lead to incorrect readings and poor engine performance.
Can I Adjust a Fuel Pressure Regulator on a Dual Fuel Rail Engine?
Yes, if your regulator has two inlets for a V6 or V8 engine, you can adjust the regulator with both fuel rails connected to ensure even fuel pressure distribution across cylinders.
Is It Necessary to Disconnect the Vacuum Line Every Time I Adjust My Fuel Pressure Regulator?
Disconnecting the vacuum line is essential during adjustment to set the base fuel pressure accurately without vacuum affecting the reading. Reconnect it after adjustment for normal engine operation.
Before You Go
Adjusting your new fuel pressure regulator properly safeguards your engine against performance losses and potential damage. Take your time to carefully follow adjustment steps and verify pressure levels with accurate tools. This hands-on approach not only boosts efficiency but also helps you get familiar with your vehicle’s fuel system. When ready, start with the initial setup and monitor pressure changes closely for best results.