How to Change Oil Filter Without a Tool in 5 Simple Steps
To change your oil filter without a tool, first park on a flat surface and let the engine cool.
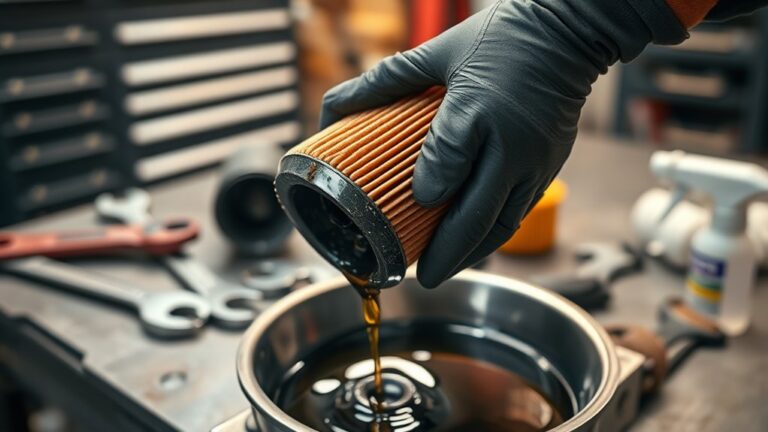
Drain the old oil by removing the drain plug carefully and let it fully drain.
Then, dry your hands and grip the filter firmly, twisting it counterclockwise to loosen. Use a rag for extra grip if needed.
Clean the mounting surface, oil the new filter’s gasket lightly, and screw it on by hand.
Add fresh oil, check for leaks, and you’ll be set for smooth running. Keep going to get all the details.
Key Takeaways
- Ensure the engine is cool and dry your hands for a better grip on the oil filter.
- Use a rag or rubber band wrapped around the filter to increase traction.
- Turn the oil filter counterclockwise by hand with firm, steady pressure to loosen it.
- Catch any dripping oil with a rag or drain pan while removing the filter.
- Lightly coat the new filter’s gasket with oil and hand-tighten it clockwise ¾ to 1 turn.
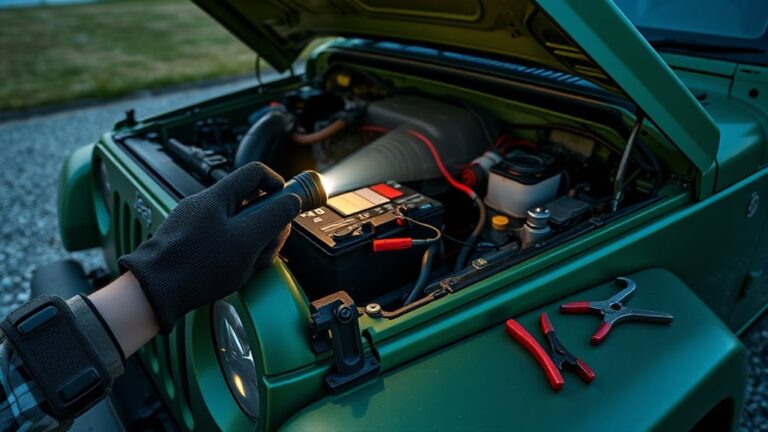
Prepare Your Car and Gather Oil Filter Tools
Before you begin, make sure your car is parked on a flat, level surface with the engine cool to avoid burns and spills. This step is vital to safely prepare your car for changing the oil filter.
Next, gather the necessary tools to help you remove the oil filter without specialized equipment. You can use household items like channel-lock pliers, adjustable wrenches, strap wrenches, or even rubber bands to grip the filter securely.
Also, have a drain pan ready to catch any old oil that might spill during the process, along with rags or paper towels to clean up messes. Don’t forget to wear gloves to protect your hands from dirt and hot oil, and keep a flashlight nearby to improve visibility under your vehicle.
Finally, confirm you have the correct replacement oil filter compatible with your car model. Taking these steps will help you prepare efficiently and set the stage for a smooth oil filter change.
Drain Old Engine Oil Before Removing Oil Filter
Once you’ve prepared your car and gathered the necessary tools, the next step is to drain the old engine oil. Start by positioning a drain pan beneath the oil drain plug to catch the used oil safely.
Carefully remove the drain plug using a wrench or by hand if accessible, allowing the oil to flow out completely. Be patient and wait several minutes to make certain all the old oil drains from the engine.
This step is essential before oil filter removal to prevent spills and guarantee a cleaner engine oil change. Once drained, securely reinstall the drain plug to avoid leaks during engine operation.
Remember to properly dispose of the used oil at a recycling center to protect the environment. By following these steps, you guarantee a smooth and efficient engine oil change and prepare for the next phase: removing the oil filter without a tool.
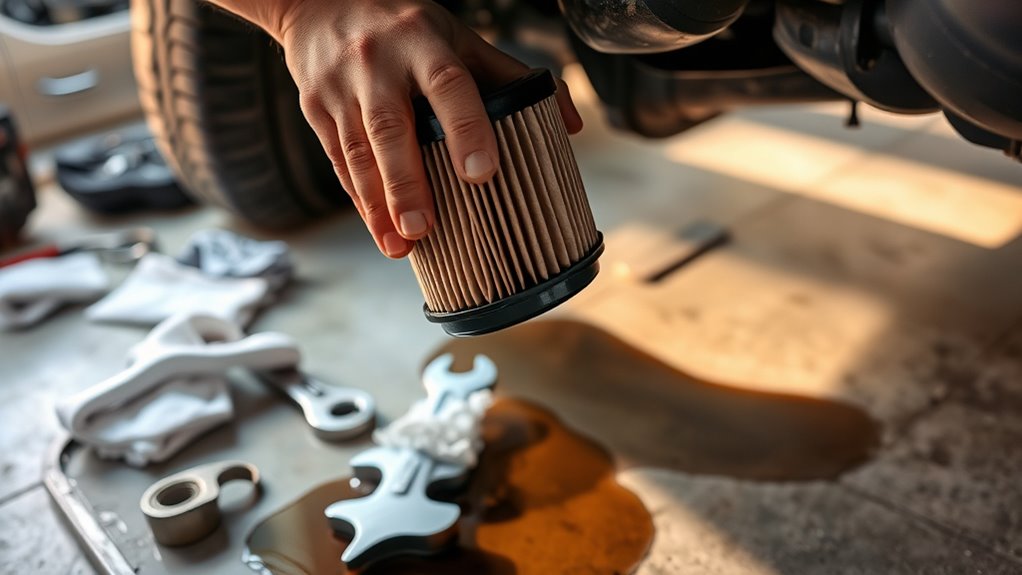
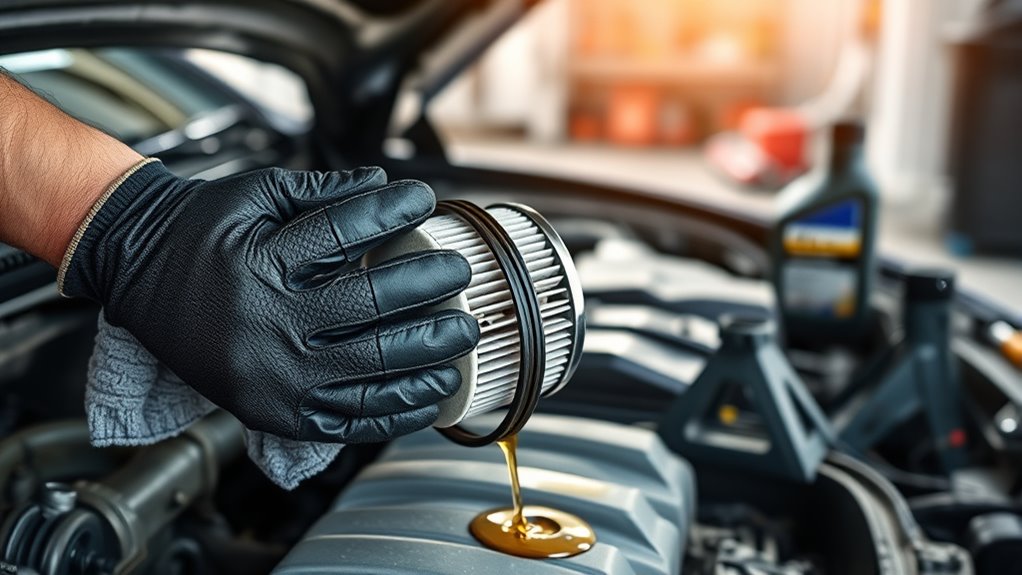
Loosen and Remove a Tight Oil Filter by Hand
Although oil filters can be stubborn, you can often loosen and remove them by hand with the right grip and technique. First, make sure your engine is cool and your hands are dry to avoid slipping. Then grasp the oil filter firmly and turn it counterclockwise to loosen it. If it’s too tight, don’t worry. You can still manage without tools.
Here’s how to loosen the oil filter by hand effectively:
- Apply steady pressure while turning the oil filter counterclockwise. Use a rubber grip or rag for better traction if needed.
- Avoid excessive force to prevent damage to the filter or mounting surface.
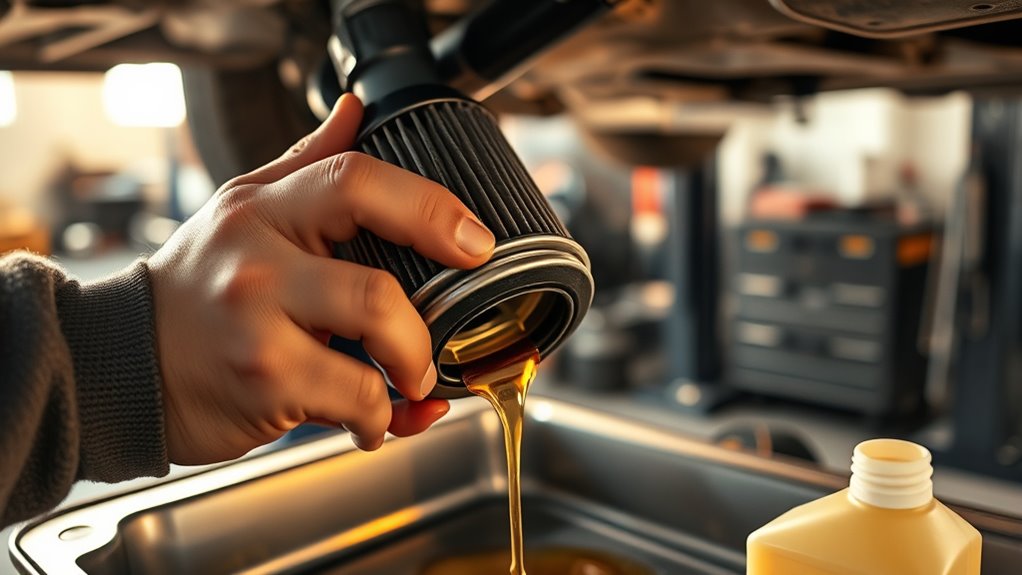
- Once loosened, carefully unscrew the oil filter by hand, keeping a rag or drain pan ready to catch any oil drips.
With patience and proper grip, you can loosen and remove a tight oil filter by hand safely and efficiently.
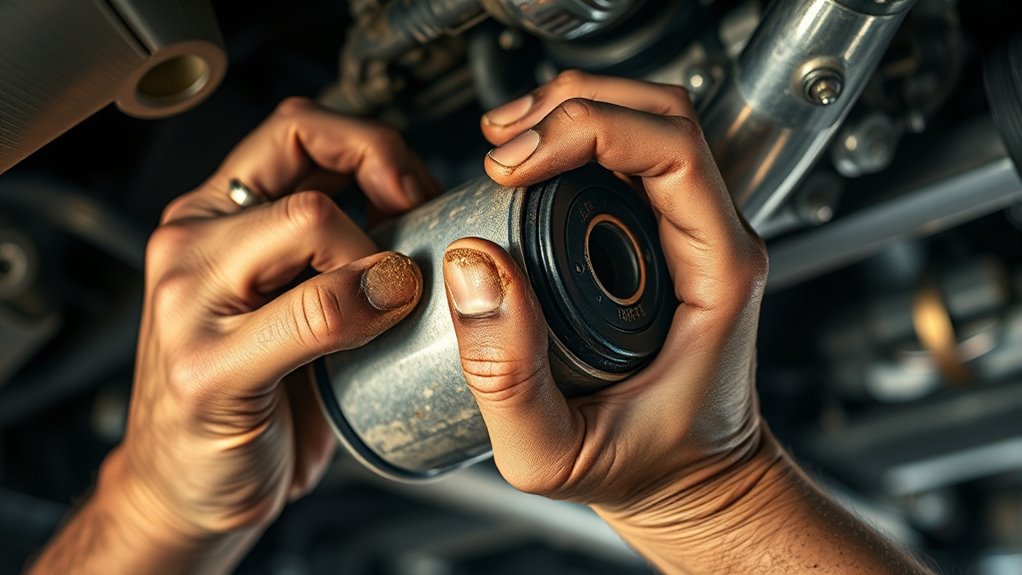
Clean the Mounting Surface and Oil the New Filter Gasket
Since a clean mounting surface is essential for preventing leaks, you’ll want to thoroughly wipe it with a rag to remove dirt, old oil, and any debris. During this cleaning, carefully check for remnants of the old rubber gasket stuck to the surface. Removing these is vital to avoid leaks once the new filter is installed.
After ensuring the area is clean and dry, take the new oil filter and lightly coat its gasket with fresh engine oil. Use your finger to apply a thin, even layer for proper lubrication. This lubrication helps the gasket seal tightly against the mounting surface and prevents it from drying out or cracking.
Avoid over-oiling, as too much oil can cause the filter to slip or not seat properly. By focusing on thorough cleaning and correct gasket lubrication, you’ll set the stage for a secure, leak-free oil filter installation.
Install the New Oil Filter and Refill Engine Oil
With the new oil filter properly lubricated and the mounting surface clean, you’re ready to install the filter. Follow these steps to install a new oil filter and refill engine oil correctly:
- Screw the new oil filter onto the engine’s mounting surface by hand, turning clockwise. Make sure the gasket seats properly and avoid cross-threading. Once seated, tighten the filter an additional ¾ to 1 turn by hand to seal it without over-tightening.
- Remove the engine oil fill cap to prevent pressure buildup and allow smooth oil flow during refilling.
- Using a funnel, pour the recommended type and amount of engine oil into the fill opening. Replace the oil fill cap securely. Start the engine and check for leaks. Finally, verify the oil level with the dipstick and refill engine oil if needed to reach the correct mark.
Frequently Asked Questions
Can I Change the Oil Filter Without Wearing Gloves?
Yes, you can change the oil filter without wearing gloves, but keep hand protection in mind. Without gloves, you risk skin contact with dirty oil, which increases chemical exposure and can cause irritation or staining.
If you choose to go glove-free, wash your hands thoroughly afterward to minimize these risks. Gloves improve safety and grip, so it’s best to wear them whenever possible to protect your skin from harmful substances.
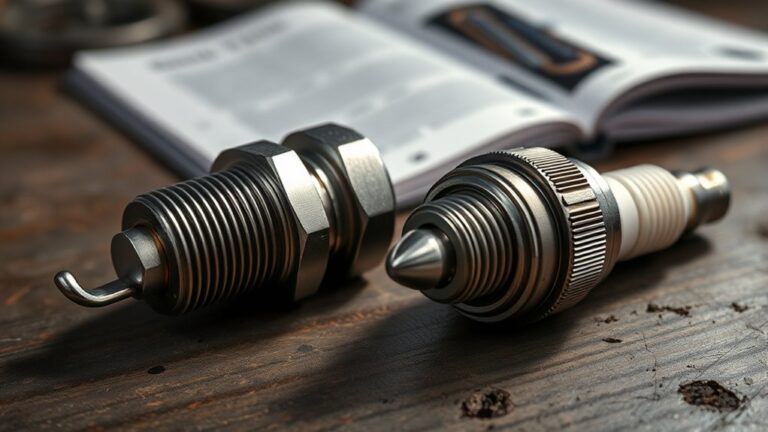
How Often Should I Change My Oil Filter?
Think of your oil filter as your engine’s lungs. It needs fresh air regularly. You should change your oil filter every 3,000 to 5,000 miles for standard oil, or up to 7,500 to 10,000 miles if you’re using synthetic oil.
Staying on top of oil filter maintenance is key to DIY car care and keeping your engine health in check. Regular changes prevent grime buildup, ensuring your engine runs smoothly and lasts longer.
What if the New Oil Filter Leaks After Installation?
If your new oil filter leaks after installation, focus on leak prevention by checking the gasket carefully. Inspect the gasket for damage or improper seating, as this causes leaks. Apply a thin layer of fresh oil on the gasket before tightening.
Use proper sealing techniques, tightening the filter by hand plus a quarter turn. Don’t over-tighten. If leaks persist, remove the filter, clean the mounting surface, and install a new filter with a proper gasket inspection.
Can I Reuse the Old Oil Filter Gasket?
You shouldn’t reuse the old oil filter gasket because it can cause leaks and engine damage. Always prioritize gasket replacement to guarantee a proper seal and filter compatibility.
During oil filter recycling, dispose of old filters properly, but never rely on the old gasket’s condition. If you must reuse it, inspect for cracks or hardening carefully.
Coating a new gasket lightly with oil improves sealing and prevents sticking during future changes.
Is It Necessary to Warm up the Engine Before Changing the Filter?
Think of your engine temperature like the warmth of butter, soft enough to spread but not melted. You don’t always need to warm up the engine fully before changing the filter, but having it slightly warm helps reduce oil viscosity. This makes the oil flow easier.
It also improves filter accessibility, so you can remove it without too much struggle. Just avoid working on a hot engine to keep yourself safe from burns.
Conclusion
Now that you’ve swapped out your oil filter without any fancy tools, picture your engine humming smoothly, refreshed and ready for the road. You’ve drained the old oil, loosened that stubborn filter by hand, and carefully sealed in the new one.
Imagine the clean, fresh oil circulating, protecting every moving part like a gentle river. With your car’s heart renewed, you’re set to drive confidently, knowing you’ve mastered this simple yet essential task.