Which Way to Turn Oil Filter in 7 Easy Steps
To remove your oil filter, turn it counterclockwise with steady pressure. Use an oil filter wrench if it’s tight.
To install, apply fresh oil to the gasket. Then turn clockwise until it contacts the surface, tightening another ¾ to 1 turn by hand. Don’t over-tighten.
Use proper tools and avoid forcing it to prevent damage.
After installation, check for leaks and verify proper oil levels.
Keep following for tips on tools, mistakes to avoid, and final checks.
Key Takeaways
- Turn the oil filter clockwise to tighten and counterclockwise to loosen during removal.
- Hand-tighten the oil filter about ¾ to 1 turn past snug for proper sealing.
- Apply a thin layer of fresh oil to the gasket before installation to prevent leaks.
- Use steady pressure and appropriate tools like an oil filter wrench to avoid damage.
- After installation, run the engine and check for leaks, ensuring the filter is secure.
Which Way To Turn Your Oil Filter
Although it might seem straightforward, knowing which way to turn your oil filter is essential to avoid damage and guarantee a proper seal. When you install a new filter, turn it clockwise following the standard threading direction to tighten it securely.
Typically, you’ll hand-tighten the filter about three-quarters of a turn past snug to ensure a proper seal without over-tightening. To remove the filter, turn it counterclockwise, applying steady pressure until it loosens.
Using a filter wrench can help grip the filter firmly, but you must always turn it in the correct direction to avoid damaging the threading or the filter itself. If you’re unsure, consult your vehicle’s manual for specific instructions on turning your oil filter.
Confirm the filter is properly installed by turning it clockwise gently and checking for leaks once the engine runs. This careful approach to turning your oil filter protects your engine and ensures a smooth oil change process.
Tools Needed To Turn And Replace Your Oil Filter
To turn and replace your oil filter smoothly, you’ll want to have the right tools on hand. Something like an oil filter wrench or a socket that fits your filter size works best.
Choosing the proper equipment is key because it helps you get a secure grip and prevents any damage. Plus, when you’ve got the right tools, you’ll save both time and effort while you’re at it.
Essential Oil Filter Tools
When you need to remove or replace your oil filter, having the right tools makes the job much easier and prevents damage. To turn the oil filter without slipping or stripping it, you’ll want an oil filter wrench or socket tool that fits snugly.
Sometimes the filter gets too tight to loosen by hand, so a rubber strap wrench comes in handy. Always turn the oil filter counterclockwise to loosen it and clockwise to tighten. Also, keep an oil drain pan nearby to catch any oil that spills when you remove the filter.
Here are essential oil filter tools you’ll need:
- Oil filter wrench
- Socket tool
- Rubber strap wrench
- Oil drain pan
- Pliers for extra grip
Choosing Proper Equipment
Selecting the right tools makes turning and replacing your oil filter much easier and prevents damage to both the filter and your vehicle. You’ll need proper equipment like an oil filter wrench sized for your filter to grip it securely during removal and installing.
A drain pan catches oil spills, while a torque wrench ensures you tighten the filter to the correct specification, usually hand tight plus a quarter turn, to seal properly. Don’t forget gloves and safety glasses to protect yourself.
| Tool | Purpose | Tip |
|---|---|---|
| Oil Filter Wrench | Grip & turn filter | Match filter size precisely |
| Drain Pan | Catch draining oil | Place under filter area |
| Torque Wrench | Correct tightening torque | Follow manufacturer specs |
| Gloves | Protect hands | Use oil-resistant type |
| Safety Glasses | Protect eyes | Wear during removal/install |
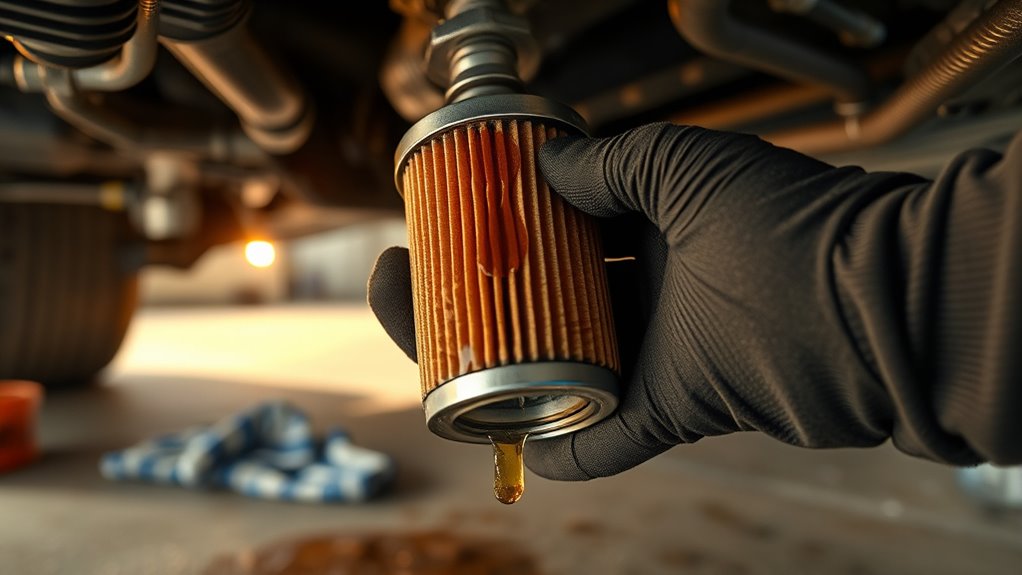
Removing The Old Oil Filter
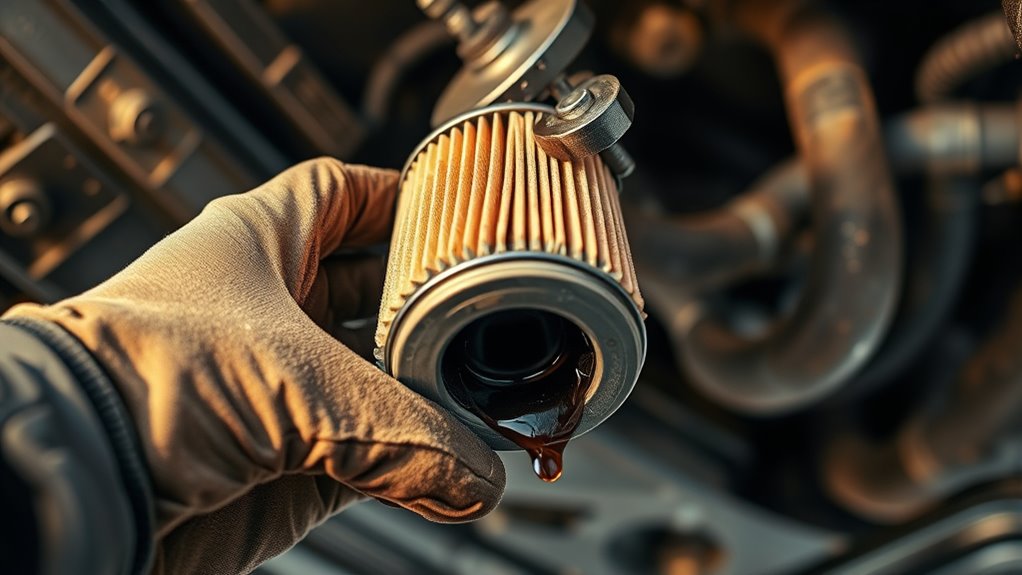
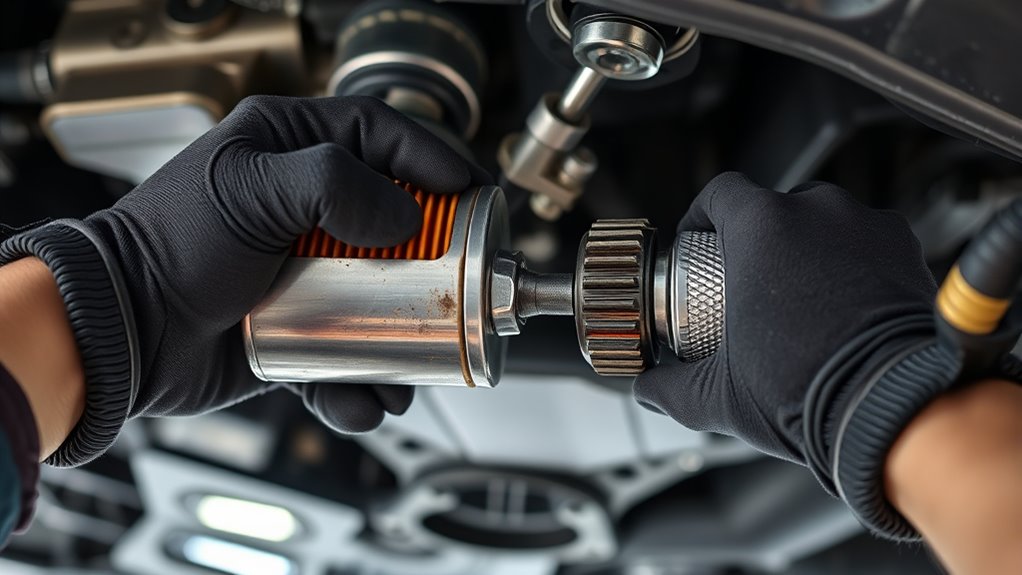
Although it might seem tricky at first, you can remove the old oil filter by turning it counterclockwise with steady pressure from a filter wrench. Start by positioning the wrench securely around the filter, then turn it counterclockwise to loosen the filter from the engine.
Once it’s loosened, carefully unscrew it by hand to remove it completely. Be prepared for oil to drain out, so keep a drain pan or rag nearby to catch any spills.
Keep these tips in mind when removing the old filter:
- Turn the filter fully counterclockwise until it unscrews easily.
- Apply steady pressure with the filter wrench to avoid slipping.
- Use a filter removal tool if the filter is stuck or too tight.
- Have a drain pan or rag ready to catch residual oil.
- Dispose of the old filter properly after removal.
Following these steps makes removing the old oil filter straightforward and mess-free.
Installing The New Oil Filter
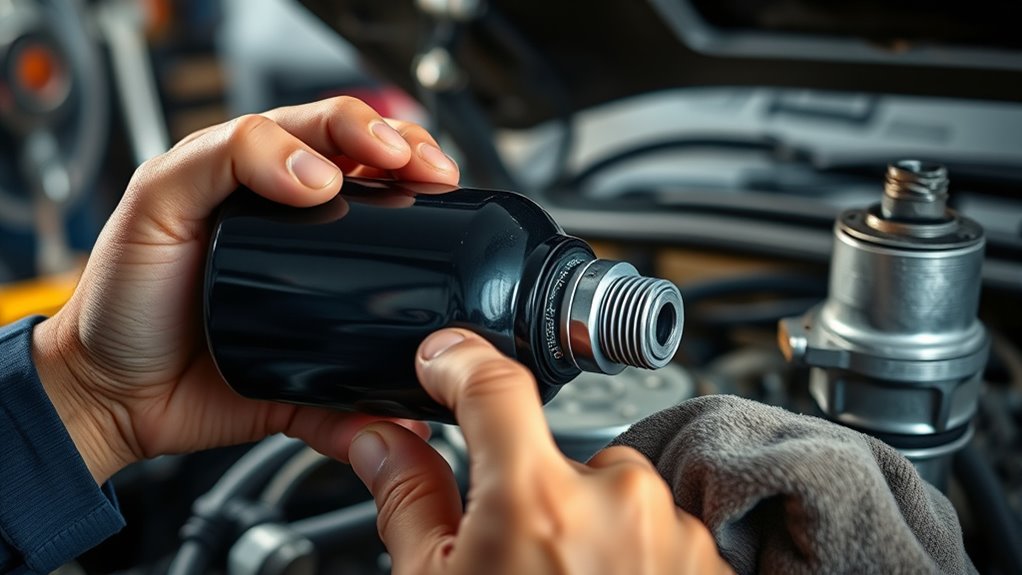
Before you screw on the new oil filter, make sure to apply a thin layer of oil to the gasket. This helps it seal properly. Then, position the filter carefully and start turning it clockwise by hand. You’ll want to tighten it snugly—usually about three-quarters of a turn past hand-tight. That way, you avoid leaks without causing any damage.
Preparing The New Filter
When you’re ready to install the new oil filter, start by applying a thin layer of fresh oil to its rubber gasket. This helps guarantee a proper seal. This step is vital for preventing leaks and making sure the filter seats correctly.
As you begin installing the new filter, turn it clockwise by hand until the oil gasket makes contact with the mounting surface. Once contact is made, hand tighten the filter an additional 3/4 to 1 turn. Avoid tools to prevent over-tightening, which can damage the gasket or threads.
Always check the manufacturer’s specifications for the recommended torque.
- Apply fresh oil to the rubber gasket
- Turn filter clockwise by hand
- Make certain gasket contacts mounting surface
- Hand tighten 3/4 to 1 turn after contact
- Avoid over-tightening with tools for proper seal
Applying Oil To Gasket
To guarantee a tight seal and prevent leaks, you’ll want to apply a thin layer of fresh engine oil to the rubber gasket before installing the new oil filter. This step ensures the rubber gasket seats properly, creating a proper seal during installation.
Applying oil helps prevent the gasket from pinching or twisting, which can cause leaks later. After applying oil, align the oil filter and turn it clockwise until the gasket contacts the mounting surface for proper seating.
| Step | Action | Purpose |
|---|---|---|
| 1 | Apply fresh engine oil | Lubricate gasket |
| 2 | Check gasket condition | Ensure no damage |
| 3 | Align oil filter | Proper installation |
| 4 | Turn filter clockwise | Engage seal |
| 5 | Confirm gasket seating | Prevent leaks |
Hand Tightening Techniques
Although aligning the oil filter correctly is essential, you’ll want to hand-tighten it by turning it clockwise until the gasket contacts the mounting surface. Then give it another 3/4 turn to secure the seal. Proper hand-tightening guarantees the gasket forms a leak-proof seal without damaging the threads.
Avoid over-tightening. Turning more than one full turn beyond hand-tight can harm the gasket or threads. Use your fingers to tighten firmly but never rely on tools that might apply excessive torque.
Always check the manufacturer’s torque guidelines for best results.
- Turn the filter clockwise by hand only
- Stop when the gasket touches the mounting surface
- Tighten an additional 3/4 turn to seal
- Avoid over-tightening to protect threads and gasket
- Follow any specific torque recommendations provided
How Tight Should You Turn The Oil Filter?
Since securing your oil filter properly is essential, you should tighten it about ¾ to 1 full turn after hand-tightening to guarantee a snug fit without risking damage. Always turn the filter clockwise to tighten and counterclockwise to loosen.
After hand-tightening the filter until it seats firmly, use your fingers to give it that additional ¾ to 1 full turn. Avoid over-tightening, as this can crush the gasket or make the filter extremely difficult to remove later.
If you need extra leverage, a filter wrench can help, but don’t force it beyond the recommended tightness. Check the manufacturer’s specs for torque values, usually around 15-20 ft-lb, to guarantee proper installation.
Common Mistakes When Turning Oil Filters And How To Avoid Them
Getting the right tightness on your oil filter sets the stage, but many people still make avoidable mistakes when turning it. If you over-tighten the filter, you risk damaging the gasket, which can cause leaks or make future removal difficult.
Using too much force to loosen or tighten can damage the threads, leading to leaks or the need for a replacement. Skipping the step of applying fresh oil to the gasket can prevent a proper seal. Also, using the wrong tool may strip the filter or cause uneven pressure.
Here are common mistakes to avoid:
- Over-tightening beyond ¾ turn past hand tight
- Turning the filter too quickly or forcefully
- Neglecting to lubricate the gasket before installation
- Using an improper or worn-out tool
- Failing to loosen the filter by turning counterclockwise
Avoid these, and you’ll ensure a secure fit without damage or leaks.
Checking For Leaks And Final Steps After Installation
Once you’ve snugly installed the oil filter by hand and tightened it with a wrench, it’s essential to start the engine and let the oil circulate for a few minutes. While the engine is running, the oil filter seal activates, ensuring proper flow and preventing leaks.
After turning off the engine, inspect the area around the filter carefully for any signs of oil seepage. Be thorough in checking both the filter and the drain plug, as leaks here can cause engine damage if left unnoticed.
Next, use the dipstick to check the oil level and top it off if necessary to maintain the best engine performance. These final steps confirm the filter has seated and sealed correctly.
Taking the time to inspect for leaks and verify oil levels now saves you from potential issues later, making your oil change complete and secure.
Frequently Asked Questions
How Often Should I Change My Oil Filter?
You should change your oil filter every 3,000 to 7,500 miles, following your vehicle maintenance schedule and considering oil filter lifespan. Always check oil filter compatibility before buying.
Use proper filter removal tools to avoid damaging the oil filter housing or gasket sealing. Keep engine oil quality in mind and follow filter replacement tips to maintain performance.
Don’t forget vehicle warranty considerations; it often requires timely oil and filter changes to stay valid.
Can I Reuse an Old Oil Filter?
You absolutely shouldn’t reuse an old oil filter. It’s like handing your engine a ticking time bomb! Even though reusable oil filters exist, most standard ones lose effectiveness fast.
The filter material types degrade, and gaskets wear out, causing leaks. Instead, use proper filter removal tools and follow gasket sealing tips to avoid installation mistakes.
Consider oil filter recycling and proper disposal methods after use. Trust top oil filter brands for longer oil filter lifespan and reliable protection.
What Type of Oil Filter Is Best for My Car?
You should choose oil filter types based on your car compatibility, ensuring the filter size matches your engine. OEM filters guarantee proper fit and performance, while synthetic filters offer better protection and longevity.
High performance filters are great if you push your engine hard. Decide between spin-on filters, which are easy to replace, or cartridge filters, often used in newer models.
Always check your owner’s manual to pick the best filter materials and type for your car.
Is It Necessary to Oil the Gasket Before Installation?
Yes, you should oil the gasket before installation. Studies show that 90% of oil leaks result from poor gasket lubrication. Applying oil preserves seal integrity, ensuring a proper fit and protecting the sealing surface.
This installation technique reduces gasket damage and makes replacement easier if needed. It also helps with thread alignment and achieving correct torque specifications.
Doing this prevents leaks and extends filter life. Don’t skip this essential step for a secure, leak-free seal.
What Should I Do With the Used Oil Filter?
You should handle your used oil filter with care to follow disposal regulations and minimize environmental impact. Drain residual oil and store it securely to avoid leaks.
Then, take advantage of recycling options by dropping it off at collection centers or auto parts stores offering free recycling. This waste management approach treats the filter as hazardous waste, promoting eco friendly practices and disposal safety to protect the environment effectively.
Conclusion
Now that you know which way to turn your oil filter, tackle the task with confidence and care. Use the right tools to twist and turn, take time to tighten just right, and avoid common mistakes.
Keep a keen eye for leaks and complete the cleanup carefully. By following these simple steps, you’ll smoothly swap your oil filter, safeguarding your engine’s strength and ensuring a seamless, successful service every single time.