How to Repair Tonneau Cover in 8 Easy Steps
First, spot any tears, holes, or damaged seams on your tonneau cover. Then, gather your tools like a utility knife, strong thread, patches, and waterproof adhesive.
Clean and prep the surface by washing, drying, sanding, and wiping with alcohol.
Next, apply patches and reinforce seams with stitching and seam sealer.
Repair or replace latches and hinges as needed, then test the fit and adjust for a secure closure.
Finally, maintain the cover regularly to extend its life.
You can find plenty of helpful details ahead to guide you through each step.
Key Takeaways
- Clean the damaged area thoroughly with mild detergent, rinse, dry, and wipe with rubbing alcohol for better patch adhesion.
- Trim loose threads and lightly sand the repair area to prepare the surface before applying adhesive or patches.
- Use a matching vinyl patch and waterproof adhesive, pressing firmly to smooth out bubbles and ensure a secure seal.
- Restitch frayed seams with heavy-duty thread, apply seam sealer, and cover with seam tape for extra waterproof protection.
- Allow adhesive and repairs to cure fully, then check cover fit, latch function, and adjust hardware as needed for secure closure.
Spot Common Tonneau Cover Damage
When you inspect your tonneau cover, look closely for tears, holes, or frayed seams that often result from sharp objects, weather, or rough handling. These issues commonly appear as frayed edges or worn spots along the seams, especially after prolonged weather exposure.
Pay attention to the cover surface for any discoloration, stains, or water pooling, which can indicate leaks or material deterioration. Small tears and holes can usually be fixed with a patch or vinyl repair kit, restoring the cover’s integrity.
Check for discoloration or water pooling—small tears can often be repaired to maintain your cover’s durability.
Also, check for any frame damage like dents or bends that affect the cover’s fit and security. Don’t overlook latches and hinges; damaged or stiff components may prevent proper closure and increase wear on the cover.
Spotting these types of damage early helps you address them before they worsen, ensuring your tonneau cover remains functional and protects your truck bed effectively.
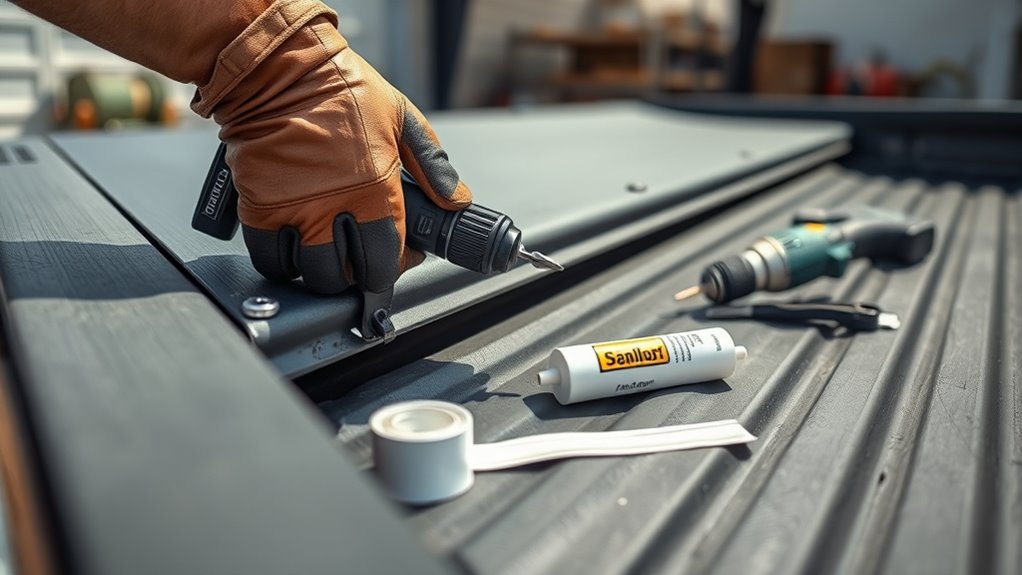
Gather Essential Repair Tools and Materials
After spotting areas that need repair on your tonneau cover, gather the right tools and materials to fix them properly. Having everything ready guarantees a smooth repair process and lasting results. Start by collecting these essentials:
- Tools: Grab a utility knife for precise cutting, a heavy-duty needle and strong thread for stitching, and seam sealer to waterproof your repairs.
- Materials: Choose a vinyl patch that matches your cover, waterproof adhesive to bond patches securely, and cleaning supplies like mild detergent and rubbing alcohol to prep the surface.
- Prep Sanding and Extras: Use fine-grit sandpaper for prep sanding to help adhesives stick better. Keep clean cloths handy to wipe away dirt and oils before applying patches.
These tools and materials set the foundation for effective repairs. Avoid rushing this step because thorough preparation guarantees a durable, professional-looking fix.
Clean and Prepare the Cover Surface
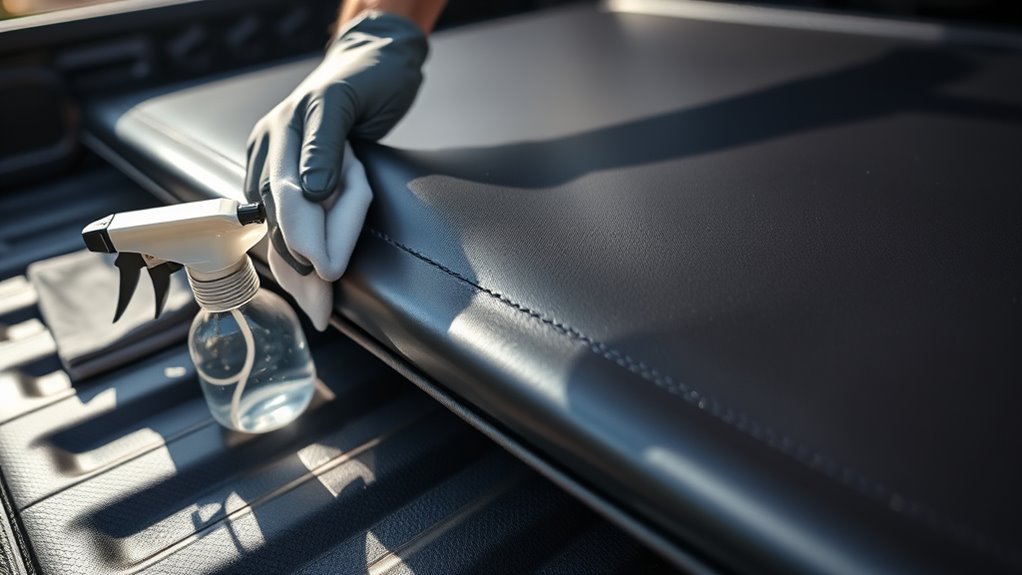
First, give your tonneau cover a good clean using some mild detergent and water to get rid of any dirt and grease. Once you’ve rinsed it off and dried it completely, take a moment to trim any loose threads around the damaged spots. After that, lightly sand the area and wipe it down to make sure the repair adhesive will stick properly.
Surface Cleaning Techniques
Although it might seem simple, cleaning and preparing your tonneau cover surface is essential for a successful repair. Proper surface cleaning removes dirt, grease, and debris that can hinder adhesion during repair preparation.
Follow these cleaning techniques for effective prep work:
- Mix a mild detergent with water and use it to clean the vinyl surface thoroughly, ensuring dirt removal without damage.
- Rinse the cover with clean water to eliminate any soap residue, then dry thoroughly with a lint-free cloth to prevent moisture interference.
- Trim loose threads and lightly sand any plastic or vinyl areas with fine-grit sandpaper to create a smooth, receptive surface.
These steps guarantee your cover is well-prepped and ready for the next repair phase.
Preparing For Adhesion
When you prepare your tonneau cover for adhesion, you need to make certain the surface is completely clean and free of contaminants. Start by cleaning the repair area thoroughly with mild detergent and water to remove dirt, grease, and debris.
After cleaning, dry the area completely using a clean cloth to prevent moisture from interfering with adhesion. Next, trim any loose threads or frayed edges around the tear to create a smooth repair area.
Lightly sand the vinyl or fabric surface with fine-grit sandpaper, enhancing the adhesive’s bonding strength. Finally, wipe the surface with rubbing alcohol to eliminate oils and any remaining contaminants.
Proper surface preparation guarantees the adhesive bonds firmly, making your tonneau cover repair durable and long-lasting.
Patch Tears and Holes in Your Tonneau Cover
Choose a patch material that closely matches your tonneau cover—that way, it blends in better and lasts longer. When you’re ready to apply the adhesive, make sure you cover both the patch and the edges of the tear evenly. This helps create a strong seal. Then, press the patch firmly in place and smooth out any air bubbles so it sticks properly.
Patch Material Selection
Since your tonneau cover faces constant exposure to the elements, selecting a patch material that matches its fabric or vinyl while offering flexibility and weather resistance is essential. For effective tear repair, choose a patch material that blends with the cover’s fabric or vinyl, ensuring durability. Here’s what to keep in mind:
- Use outdoor use patches or self-adhesive vinyl repair sheets with weather-resistant adhesive for easy application and lasting hold.
- Match the patch thickness and texture closely to maintain strength and appearance.
- Select a flexible patch slightly larger than the tear, with rounded corners to prevent peeling edges.
Adhesive Application Techniques
Although selecting the right patch material is essential, applying the adhesive properly guarantees a strong, lasting repair. Start by applying a thin, even layer of outdoor-rated adhesive around the edges of the tear or hole. Use a spatula or brush to spread it evenly, making sure you cover the area fully without any excess.
Next, press the patch firmly onto the adhesive-coated area. Smooth out any air bubbles and wrinkles to create a tight seal. Keep consistent pressure throughout the curing time specified by the adhesive manufacturer to secure a strong bond.
Finally, allow the adhesive to cure fully, usually 24 hours, before exposing your tonneau cover to water or stress. Following these adhesive application techniques will make your repair process effective and durable.
Reinforce Seams and Stitching for Lasting Strength
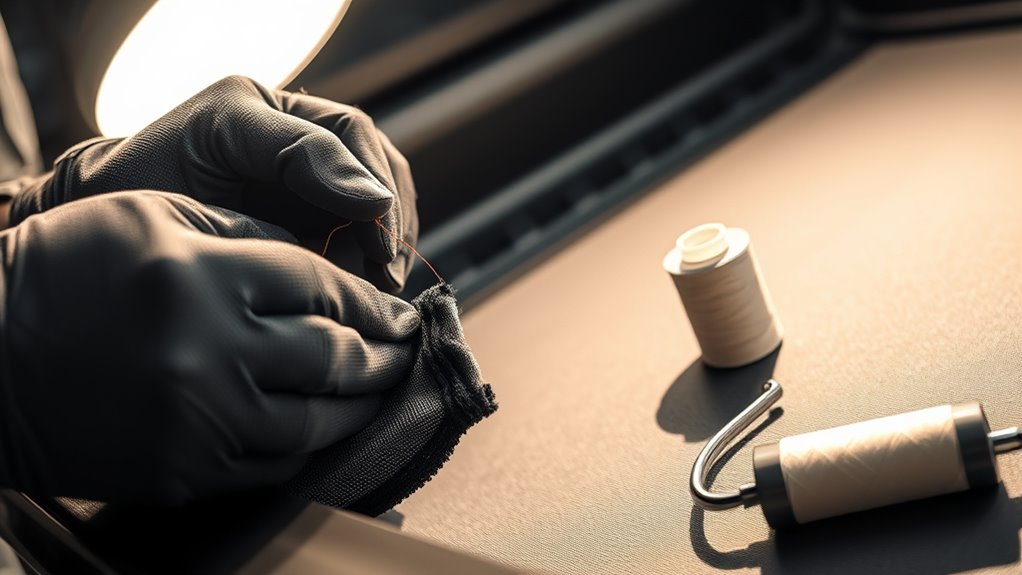
When you reinforce the seams and stitching on your tonneau cover, you considerably boost its durability against harsh weather and daily wear. Start by restitching any loose or frayed edges using a sewing machine and heavy-duty thread like nylon or polyester for maximum reinforcement. This ensures a stronger bond and better repair longevity compared to hand sewing alone.
Next, apply a waterproof sealer over the seams after stitching to prevent water infiltration, reducing the risk of mold and mildew. Finally, use seam tape to cover the stitched areas, adding an extra moisture barrier and extending the repair’s lifespan.
Follow these steps for lasting strength:
- Restitch frayed seams with a sewing machine and heavy-duty thread.
- Seal seams with waterproof sealer for water resistance.
- Apply seam tape over stitched areas for added protection.
Regularly inspect and reseal to maintain your cover’s integrity and durability.
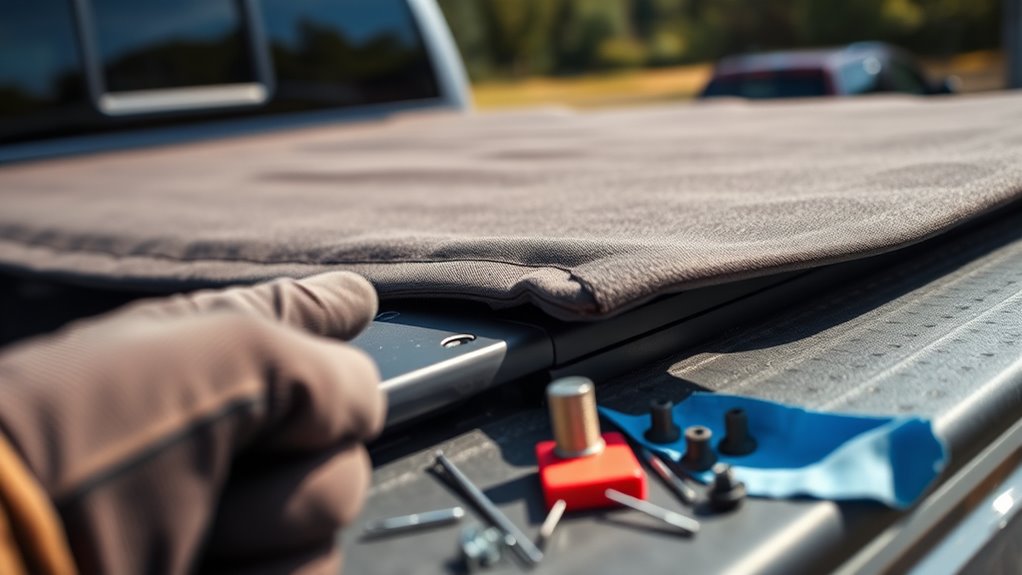
Repair or Replace Tonneau Cover Latches and Hinges
How often do you check your tonneau cover’s latches and hinges? Regular inspection is key to spotting rust, corrosion, or loose screws that can compromise a secure closure and weatherproof seal.
Tighten any loose screws to prevent leaks and lubricate hinges with silicone spray to avoid squeaks and corrosion. If latches or hinges are broken or severely worn, replace them with compatible parts to maintain proper function.
After repair or replacement, verify alignment to ensure the cover closes tightly and stays weatherproof.
| Issue | Action |
|---|---|
| Loose screws | Tighten bolts and screws |
| Rust | Clean and apply anti-rust spray |
| Squeaky hinges | Lubricate with silicone spray |
| Broken latches | Replace with compatible parts |
| Misalignment | Adjust for secure closure |
Maintaining latches and hinges guarantees your tonneau cover remains dependable and weatherproof.
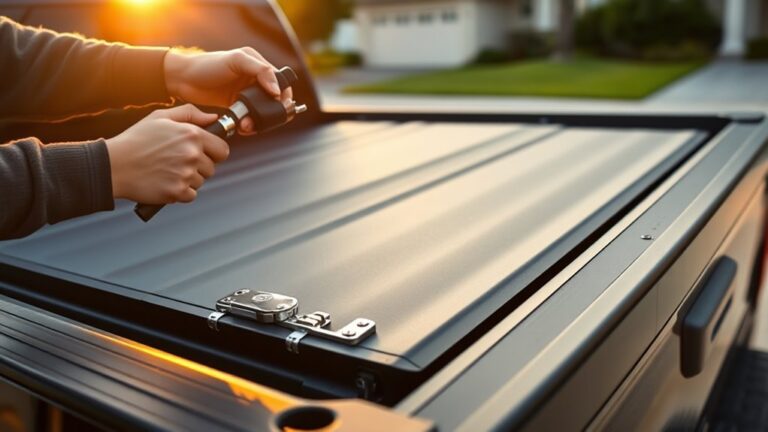
Test Cover Fit and Adjust for Secure Closure
Before finalizing your tonneau cover repair, place the cover onto the truck bed and fasten all mounting hardware securely to test its fit. Next, check for proper alignment, clearance, and a snug seal around the edges to prevent gaps. Open and close the cover several times to ensure the hinges and latch operate smoothly.
To make certain your cover fits perfectly and closes securely, follow these steps:
- Inspect the edges and tailgate for any uneven gaps affecting the seal and adjust mounting points or hardware as needed.
- Verify the latch locks firmly and test the cover with gentle tugs to confirm it stays securely closed.
- Adjust any misalignment or looseness in the hinges and mounting hardware to improve fit and function.
Clean and Maintain Your Tonneau Cover to Extend Its Life
To keep your tonneau cover in top condition, you should clean it regularly using mild soap and water to remove dirt and debris that can cause wear over time. Proper cleaning prevents buildup that leads to deterioration and helps maintain the cover’s lifespan.
Avoid harsh chemicals or abrasive tools that might damage the surface. Use specific products like Simple Green for plastic parts to restore appearance safely.
Regular maintenance also means inspecting seams and hardware closely for signs of damage or loose areas. Address minor issues promptly with a vinyl repair kit to guarantee proper adhesion and prevent further damage.
Applying a UV-protective spray periodically shields your cover from sun damage, which is vital given harsh weather conditions. By staying on top of cleaning and damage repair, you’ll extend your tonneau cover’s life and keep it looking great while functioning reliably.
Frequently Asked Questions
How Long Does a Tonneau Cover Repair Typically Last?
You can expect a tonneau cover repair to last anywhere from several months up to 3 years, depending on the repair techniques and adhesive lifespan used. Durability testing shows that weather resistance and UV protection play big roles in material longevity.
To boost sealing methods and fight common damages, follow maintenance tips like regular cleaning and avoiding direct sunlight. Adhering to quality standards ensures your repair holds up longer.
Can I Repair a Tonneau Cover Myself or Should I Hire a Professional?
Sure, if you’re a DIY superhero armed with repair tools and a knack for spotting common damages, go ahead and tackle those DIY techniques! Just remember, material selection and safety precautions aren’t optional side quests.
If your cover’s drama is Oscar-worthy, professional options save you from a repair tutorial nightmare. Weigh cost analysis, follow maintenance tips, and master troubleshooting steps because sometimes, calling in pros beats turning your tonneau cover into a patchwork disaster.
What Types of Adhesive Work Best for Tonneau Cover Repairs?
You’ll want waterproof adhesives with strong adhesive strength and UV resistant glue for tonneau cover repairs. Flexible bonding is key to handle movement without cracking.
Look for solvent based adhesives that offer chemical resistance and temperature tolerance, ensuring outdoor durability. Quick drying adhesives save time, while clear adhesives keep your cover looking neat.
Combining these features gives you a reliable, long-lasting repair that withstands weather and wear.
Are There Specific Weather Conditions to Avoid During Repair?
You should avoid repairing your tonneau cover during the rainy season, heavy snow, or sudden storms because moisture can ruin adhesives. Stay clear of extreme heat, freezing temperatures, and direct sunlight since they affect curing and bonding.
Don’t work in strong winds or dusty conditions, as debris interferes with adhesion. Also, fluctuating temperatures and high humidity levels can weaken repair materials, so pick calm, moderate weather for the best results.
How Often Should I Inspect My Tonneau Cover for Damage?
You should inspect your tonneau cover at least once a month to catch cover deterioration early. If it faces heavy UV exposure or extreme weather, check every two weeks to monitor material flexibility and sealant durability.
Focus on seam integrity, latch functionality, fabric tears, and signs of hardware corrosion. After storms or impact damage, inspect for water seepage immediately to prevent further issues and extend your cover’s lifespan.
Conclusion
Now that you’ve tackled these steps, your tonneau cover will be tougher than a superhero’s shield! By spotting damage early, patching holes, reinforcing seams, and keeping everything clean, you’ll extend your cover’s life and keep it looking great.
Don’t forget to test those latches for a snug fit. Your truck bed’s protection depends on it. With just a little effort, you’ll have a cover that’s ready for any adventure, rain or shine!