How Do You Prime a Fuel Pump in 8 Easy Steps
To prime your fuel pump in 8 easy steps, first gather your tools and safety gear.
Identify your pump type, electric or mechanical, and disconnect the battery safely.
Open bleed screws to release trapped air, then use a primer or manual pump until fuel flows smoothly.
Close the bleed screws, reconnect the battery, and cycle the ignition to pressurize the system.
Finally, start the engine and check for proper operation and leaks.
Keep going to uncover more detailed tips and precautions.
Key Takeaways
- Disconnect the negative battery terminal and gather necessary tools like wrenches and a fuel pressure gauge for safety and preparation.
- Identify the fuel pump type (electric or mechanical) and open bleed screws to release trapped air from the fuel system.
- Use a manual primer or pump fuel steadily through the system until bubble-free fuel flows, then securely tighten bleed screws.
- Reconnect battery terminals, cycle the ignition on and off several times to build fuel pressure, listening for the pump’s humming sound.
- Start the engine, check for leaks or fuel odors, and confirm stable idle and proper fuel flow before normal operation.
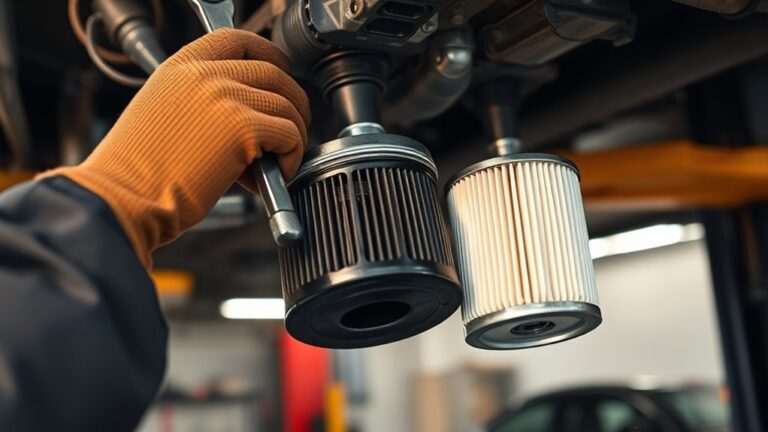
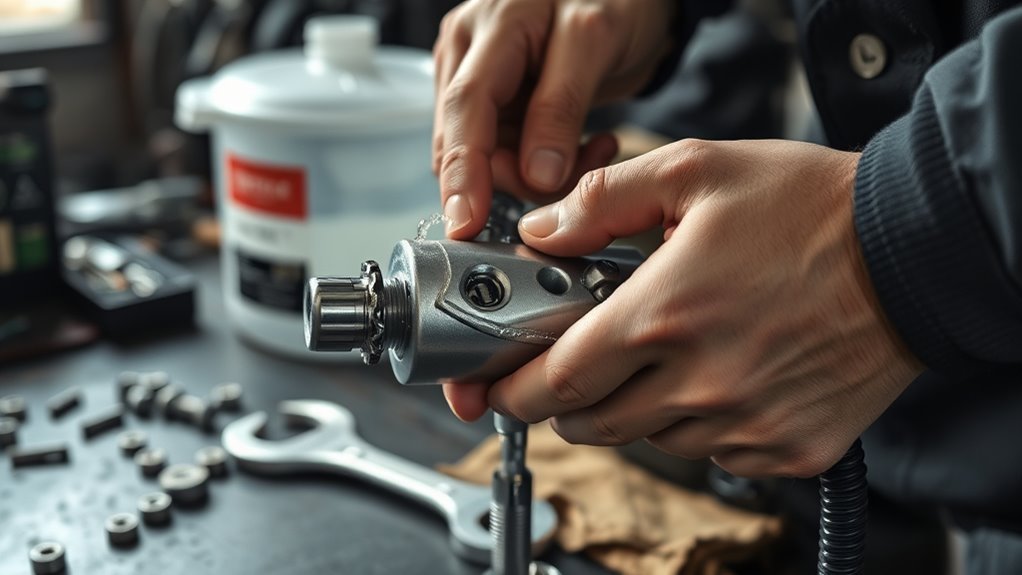
Gather Tools and Safety Gear for Fuel Pump Priming
Before you begin priming your fuel pump, gather all the necessary tools and safety gear to guarantee a smooth and safe process. Start by collecting essential tools like wrenches, screwdrivers, and a fuel pressure gauge to access and work on the fuel system efficiently.
Don’t forget to grab protective safety gear. Wear gloves and safety glasses to shield yourself from potential fuel spills or splashes. Prepare a clean drain pan or absorbent pads to catch any fuel that might leak during priming.
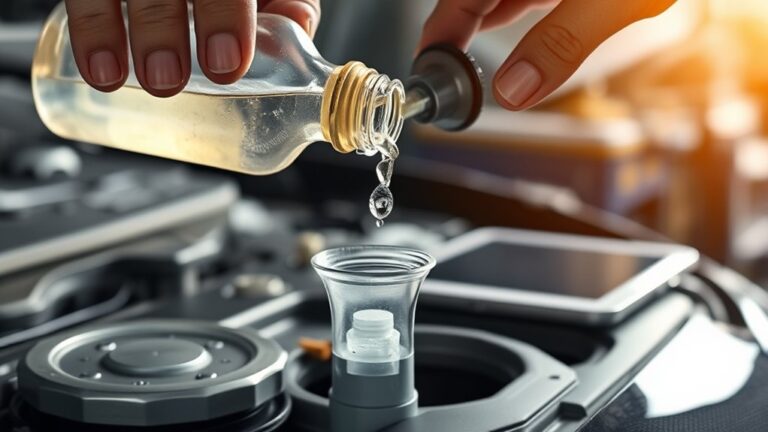
Having a fresh supply of fuel that matches your vehicle’s specifications is vital for refilling the system properly. These precautions and preparations help you handle the fuel system confidently and avoid hazards.
Understand Your Fuel Pump Type and Why It Matters
Before you start priming, it’s important to know whether your fuel pump is electric or mechanical. Electric pumps typically kick on with the ignition and make a brief humming sound. On the other hand, mechanical pumps need you to prime them manually. Knowing this difference makes it easier to follow the right steps and get your fuel system ready without any hassle.
Identifying Fuel Pump Types
How can you tell which type of fuel pump your vehicle has? Most modern vehicles, especially those made after 1990, use an in-tank electric fuel pump. You’ll often hear it hum briefly when you turn the ignition on.
Older vehicles and many diesel engines usually rely on mechanical fuel pumps mounted on the engine block. These often require manual priming to get fuel flowing. Identifying your fuel pump type is vital because in-tank electric pumps typically self-prime, while mechanical pumps need you to bleed air or prime manually.
To determine your fuel pump type, check your vehicle’s service manual or look for signs like a fuel pump relay or a visible pump on the tank. Knowing this guarantees you use the right priming method and avoid damage.
Electric Vs. Mechanical Pumps
Although both electric and mechanical fuel pumps serve the same purpose of delivering fuel to your engine, they operate differently and require distinct priming methods. An electric pump, usually inside the fuel tank, activates when you turn the ignition on, often humming briefly to show it’s working.
Priming this type of fuel system typically involves cycling the ignition to build pressure before starting. On the other hand, a mechanical pump is driven by the engine’s camshaft or crankshaft and doesn’t rely on electricity. It usually primes as the engine turns over or may need manual bleeding.
Understanding whether you have an electric pump or a mechanical one guarantees you use the right priming approach. This protects your fuel system and helps your engine start smoothly every time.
Impact On Priming Process
Knowing whether your fuel pump is electric or mechanical directly affects how you prime it and the tools you’ll need. Electric pumps usually self-prime once the ignition is on and fuel is present, minimizing manual priming. Mechanical pumps depend on the engine’s movement and often require manual bleeding to remove air and guarantee proper fuel flow.
| Pump Type | Priming Method |
|---|---|
| Electric | Self-primes with ignition |
| Mechanical | Manual bleeding/priming |
| Both | Avoid air locks to protect engine |
Understanding your pump type prevents air locks that can stall the engine or cause damage. Knowing its location and design helps you troubleshoot efficiently and perform priming correctly, ensuring smooth engine start-up every time.
Disconnect Battery and Prepare the Fuel System Safely
When should you disconnect your vehicle’s battery before working on the fuel system? You should always disconnect the battery before starting any fuel system work to avoid electrical sparks that could ignite fuel vapors.
To safely disconnect and prepare the fuel system, follow these steps:
- Disconnect the negative terminal of the battery first using a wrench or socket. This prevents short circuits and sparks.
- Move both battery terminals away from the posts to ensure they don’t accidentally touch the battery during work.
- Prepare your workspace by ensuring it’s well-ventilated and free of open flames or sparks to reduce fire risk.
Open Bleed Screws to Release Trapped Air
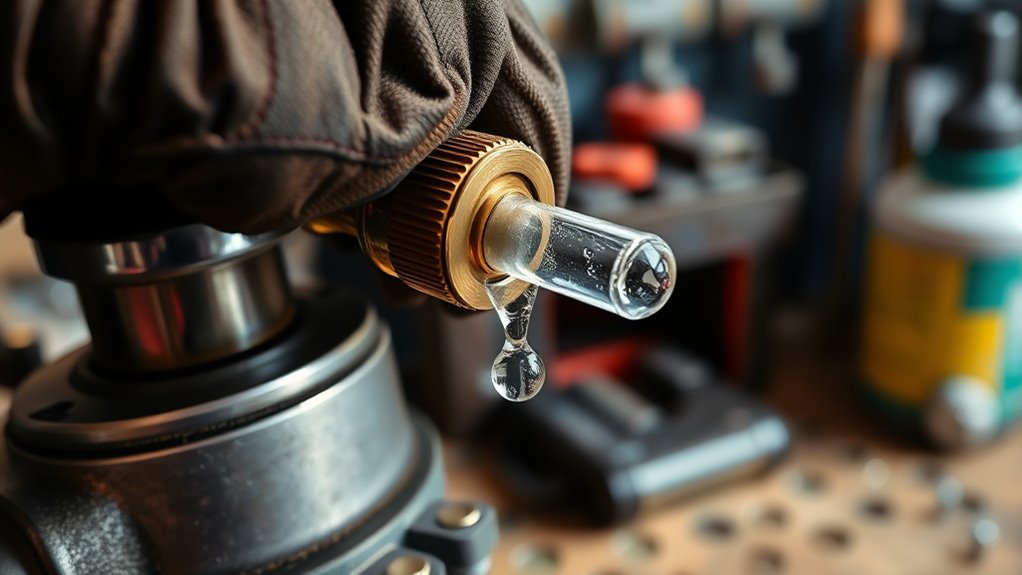
First, locate the bleed screw on your fuel system—it’s usually on the fuel filter or the injection pump. Next, place a rag or a container underneath to catch any fuel or air that might escape. Then, gently open the bleed screw and let the trapped air come out. Keep it open until you see a steady flow of fuel.
Locate Bleed Screw
Where can you find the bleed screw to release trapped air in your fuel system? Typically, the bleed screw is located at high points in the fuel system, most commonly near the fuel filter or the injector pump. This position helps in efficiently removing air pockets that disrupt fuel flow.
To locate and prepare the bleed screw:
- Identify high points in your fuel system, focusing near the fuel filter or injector pump.
- Use a wrench or screwdriver to carefully loosen the bleed screw.
- Place a container or rag underneath to catch any fuel or air released.
Opening the bleed screw lets trapped air escape, ensuring smooth fuel circulation and proper system pressure.
Air Release Techniques
How do you effectively release trapped air from your fuel system? Start by gradually opening the bleed screw on the fuel system or injection pump. This allows any air that enters the lines to escape while fuel flow pushes out the bubbles.
Use a clean container or rag to catch the escaping fuel and air safely. Keep the bleed screw open until you see a steady stream of fuel without bubbles, signaling that all trapped air has been expelled.
Once the fuel flows smoothly, tighten the bleed screw securely to prevent leaks. Sometimes, air enters at multiple points, so you may need to repeat this bleeding process at different locations to ensure the entire fuel system is free of air.
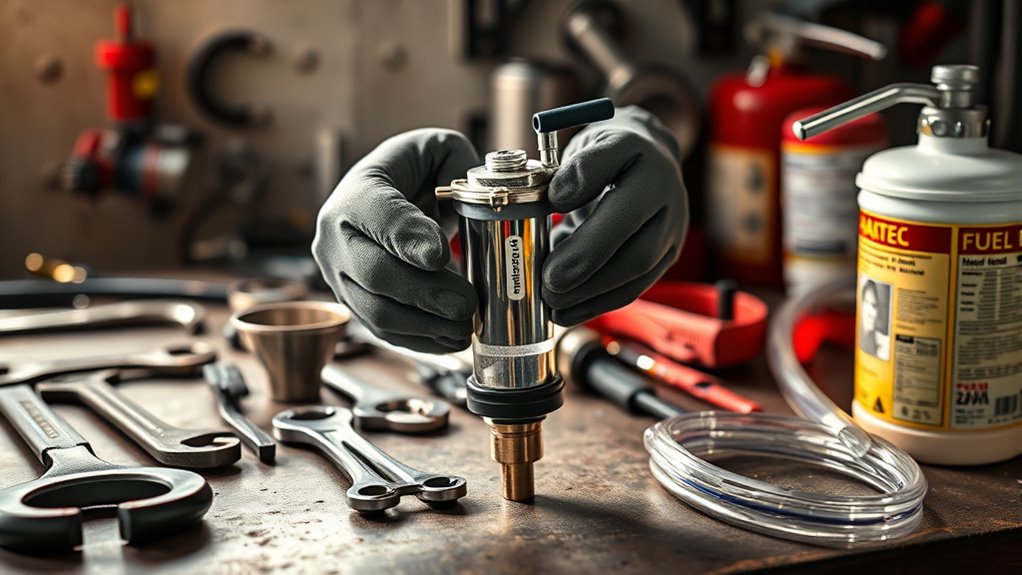
Prime the Fuel System Using a Primer or Manual Pump
Although it might seem straightforward, priming the fuel system with a manual primer pump requires careful attention to prevent introducing air or debris. First, locate the priming bulb or manual primer near the fuel filter or fuel line; it’s often marked with a fuel symbol. Make sure the priming bulb is clean to prevent contamination.
Then, follow these steps:
- Pump the priming bulb slowly and steadily until fuel flows out of the bleed screw or designated bleed points without bubbles.
- Observe the fuel flow carefully to ensure there’s no air trapped; bubbles indicate air still in the system.
- Once you get a steady, bubble-free flow, keep the bleed screw open just until fuel flows smoothly.
Avoid tightening the bleed screw completely here, as that will be covered in the next step. By carefully using the priming bulb and monitoring the fuel flow, you’ll effectively prepare the fuel system for starting.
Close Bleed Screws After Fuel Flows Smoothly
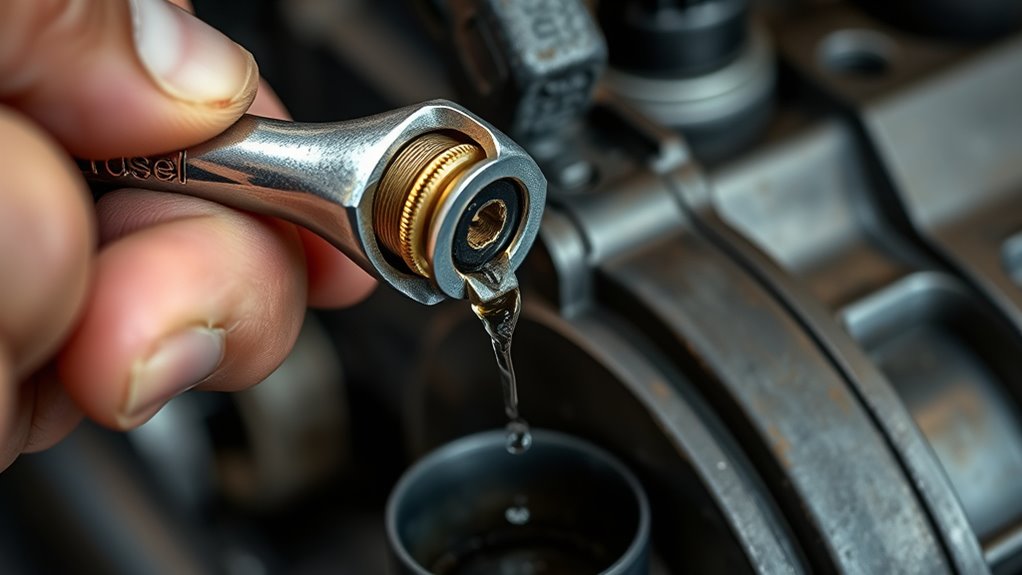
Once fuel flows smoothly and without bubbles, you should securely tighten the bleed screw to prevent air from re-entering the system. Make certain the fuel flow is clear before fully closing the bleed screw.
Use a wrench or the correct tool to tighten it to the manufacturer’s specs. Avoid overtightening to prevent damaging the fitting.
After tightening, inspect the area around the bleed screw for any leaks, which could cause fuel loss or let air back in. If fuel flow still shows bubbles or engine performance isn’t right, you might need to repeat bleeding at other points.
| Step | Action |
|---|---|
| Check Fuel Flow | Ensure smooth, bubble-free fuel |
| Tighten Bleed Screw | Use proper tool, avoid overtightening |
| Inspect for Leaks | Confirm tight seal around screw |
Reconnect Battery and Cycle the Ignition to Pressurize
After securely tightening the bleed screw and confirming there are no leaks, you can reconnect the battery to begin pressurizing the fuel system. Start by attaching the negative battery terminal first, then the positive, making sure both connections are tight and secure.
Next, cycle the ignition to pressurize the fuel lines without starting the engine.
Follow these steps to properly cycle the ignition:
- Turn the ignition key to the “On” position and listen for a faint humming sound, indicating the fuel pump is pressurizing the system.
- Switch the ignition off and wait about 10 seconds.
- Repeat this on-off cycle 3 to 6 times to build adequate fuel pressure.
This process allows the fuel pump to pressurize the system gradually, ensuring a smooth start. Once completed, you’re ready for the next step, which involves starting the engine and checking for proper fuel pump operation.
Start the Engine and Check for Proper Fuel Pump Operation
When you turn the ignition key to the “On” position, listen closely for a brief humming sound from the fuel pump, which shows it’s working correctly. After the pump stops humming, try starting the engine. If the engine starts smoothly without hesitation, it means the priming was successful, and the fuel pump is delivering fuel properly.
Next, check for fuel flow by smelling around the fuel lines or inspecting for leaks. Pay attention to the engine’s idle. If it’s stable and free of irregular noises, then the system is properly primed without air pockets.
Here’s a quick checklist to guide you:
| Step | What to Do | What It Means |
|---|---|---|
| Listen for humming | Turn ignition to “On” | Fuel pump is working |
| Start engine | Attempt to crank | Engine starts smoothly |
| Inspect fuel lines | Check for leaks or fuel smell | Fuel flow is adequate |
Following these steps ensures your fuel pump operates correctly after priming.
Frequently Asked Questions
How Often Should I Prime My Fuel Pump?
You should prime your fuel pump only when necessary, like after replacing the fuel filter or if the fuel system has been drained. Priming helps restore proper fuel pressure and removes air pockets that can cause starting issues.
Most modern vehicles manage this automatically, but if you notice low fuel pressure or trouble starting, it’s a good idea to prime the pump. Always check your owner’s manual for specific guidance.
Can a Faulty Fuel Pump Cause Engine Stalling?
Yes, a faulty fuel pump can cause engine stalling, engine hesitation, and engine shutdown. When you notice these issues, start with a thorough fuel system diagnosis to pinpoint the problem.
Don’t forget fuel filter maintenance, since a clogged filter can mimic pump failure. If the pump’s faulty, fuel pump replacement is often the fix that restores smooth engine performance.
You’ve got to address these promptly to keep your engine running strong.
What Are Common Signs of a Failing Fuel Pump?
You’ll notice several signs of failure in your fuel pump, like engine sputtering, hesitation during acceleration, or difficulty starting your vehicle. If you hear a whining noise from the fuel tank or experience engine stalling and power loss, these are red flags.
Regular fuel pump maintenance helps catch issues early. If problems persist, follow proper replacement procedures to avoid breakdowns and keep your engine running smoothly.
Is Priming Necessary After Long Vehicle Storage?
Yes, priming your fuel system after long storage is often necessary to guarantee vehicle readiness. While modern electric pumps usually self-prime, you might need to prime manually if the tank was drained or completely empty.
Proper storage maintenance includes checking fuel lines and removing air pockets to prevent starting issues. Taking these steps helps your vehicle run smoothly and avoids potential damage caused by a dry or unprimed fuel system.
Can I Prime the Fuel Pump Without Disconnecting the Battery?
Oh sure, you can absolutely prime the fuel pump without disconnecting the battery because who doesn’t love flirting with sparks instead of practicing battery safety? In reality, priming the fuel system usually just needs the ignition on, no mechanical tools or battery disconnect required.
But if you’re meddling with electrical components, it’s smart to power down first. So skip the drama unless you’re working on wiring, then unplug for safety’s sake.
Conclusion
Now that you’ve primed your fuel pump, you might wonder if skipping steps really matters. The truth is, each step guarantees air doesn’t block fuel flow, preventing engine hiccups or damage.
By following this simple rhythm: safety, bleeding air, and pressurizing, you’re setting your engine up for smooth starts every time. So trust the process, take it step by step, and you’ll keep your fuel system humming like it should.